Wenatchee is roughly three hours from Sea-Tac airport. Ted and I had a nonstop flight from STL to Sea-Tac for our Christmas visit with Thom’s family. (Unfortunately, we had to get up at 4:15 a.m. for the flight. 🙁 ) From the airport, we took the Wenatchee Valley Shuttle to Wenatchee. With the early four-hour flight, three hours between our arrival at Sea-Tac and our departing shuttle, then a three-hour shuttle ride, it was a long travel day. It was definitely worth it to spend Christmas with Thom, Katie, Sefton, and Hadley but, still, a long day.
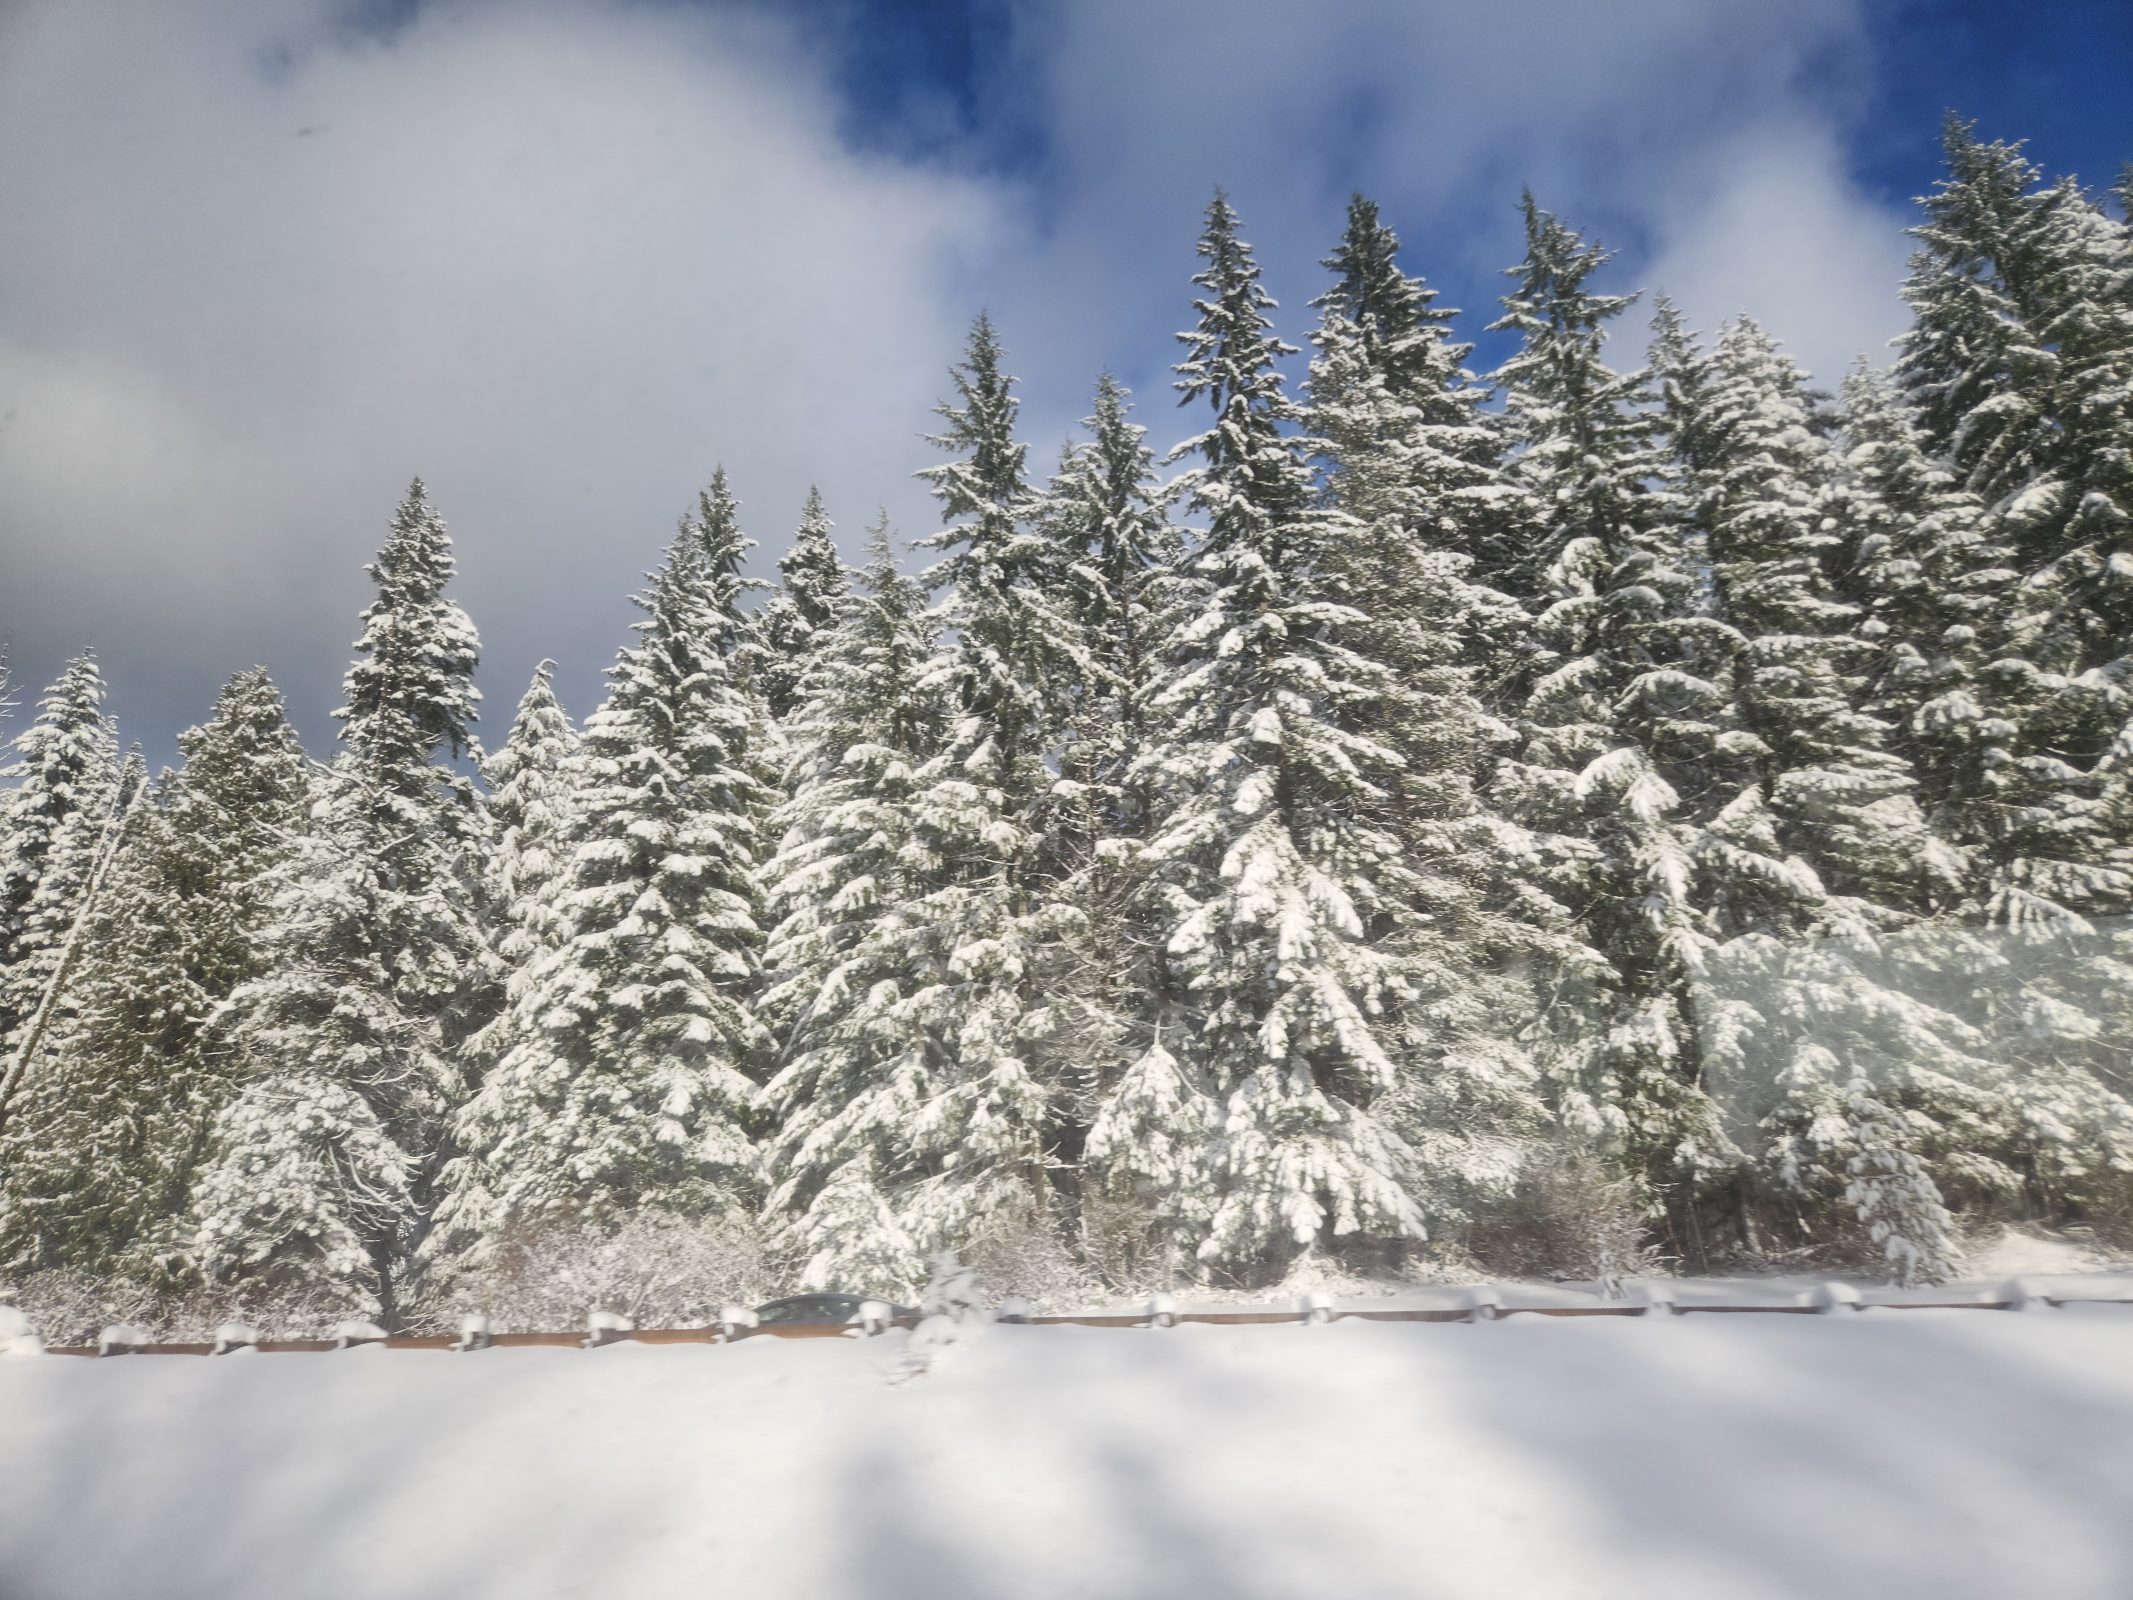
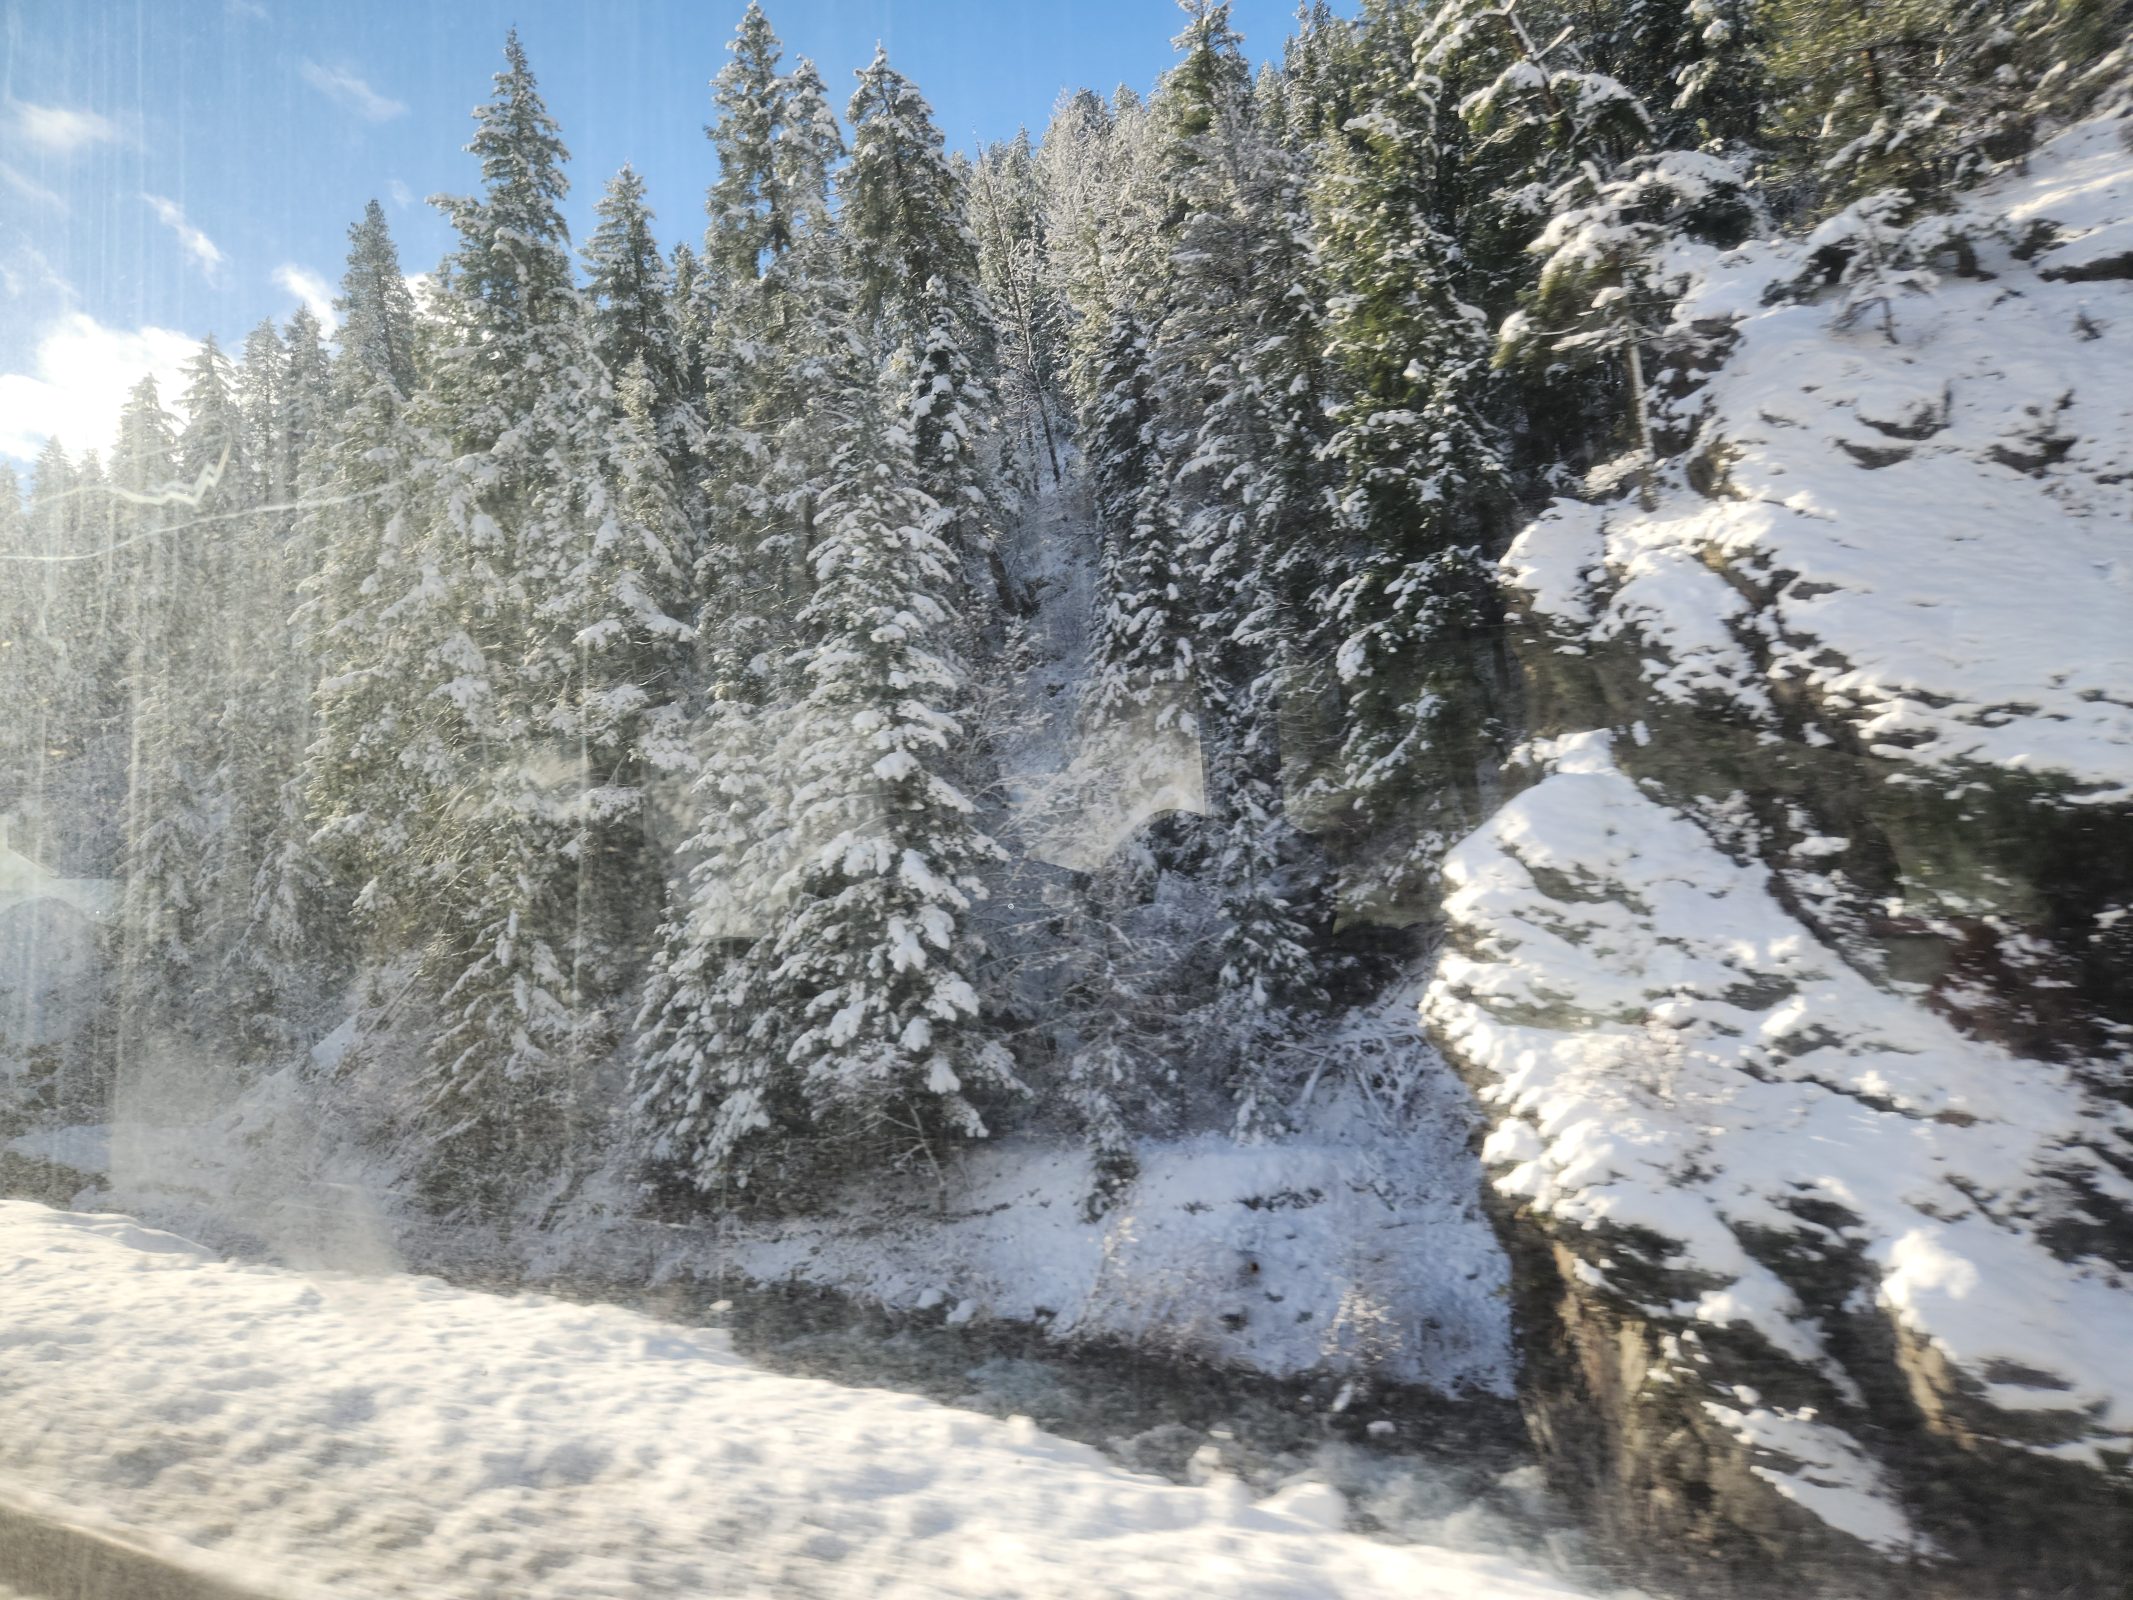
We did the same thing in reverse on our way back, with a far more scenic shuttle ride because it snowed in the mountains overnight. We experienced some of that snow at our Mission Ridge Ski Resort dinner the previous night, but on a clear, sunny day, the snow was sparkling and gorgeous! The higher we went over the pass in the Cascade Mountains, the deeper the snow became. At the top, it was at least a foot deep. Every view seemed more beautiful than the last.
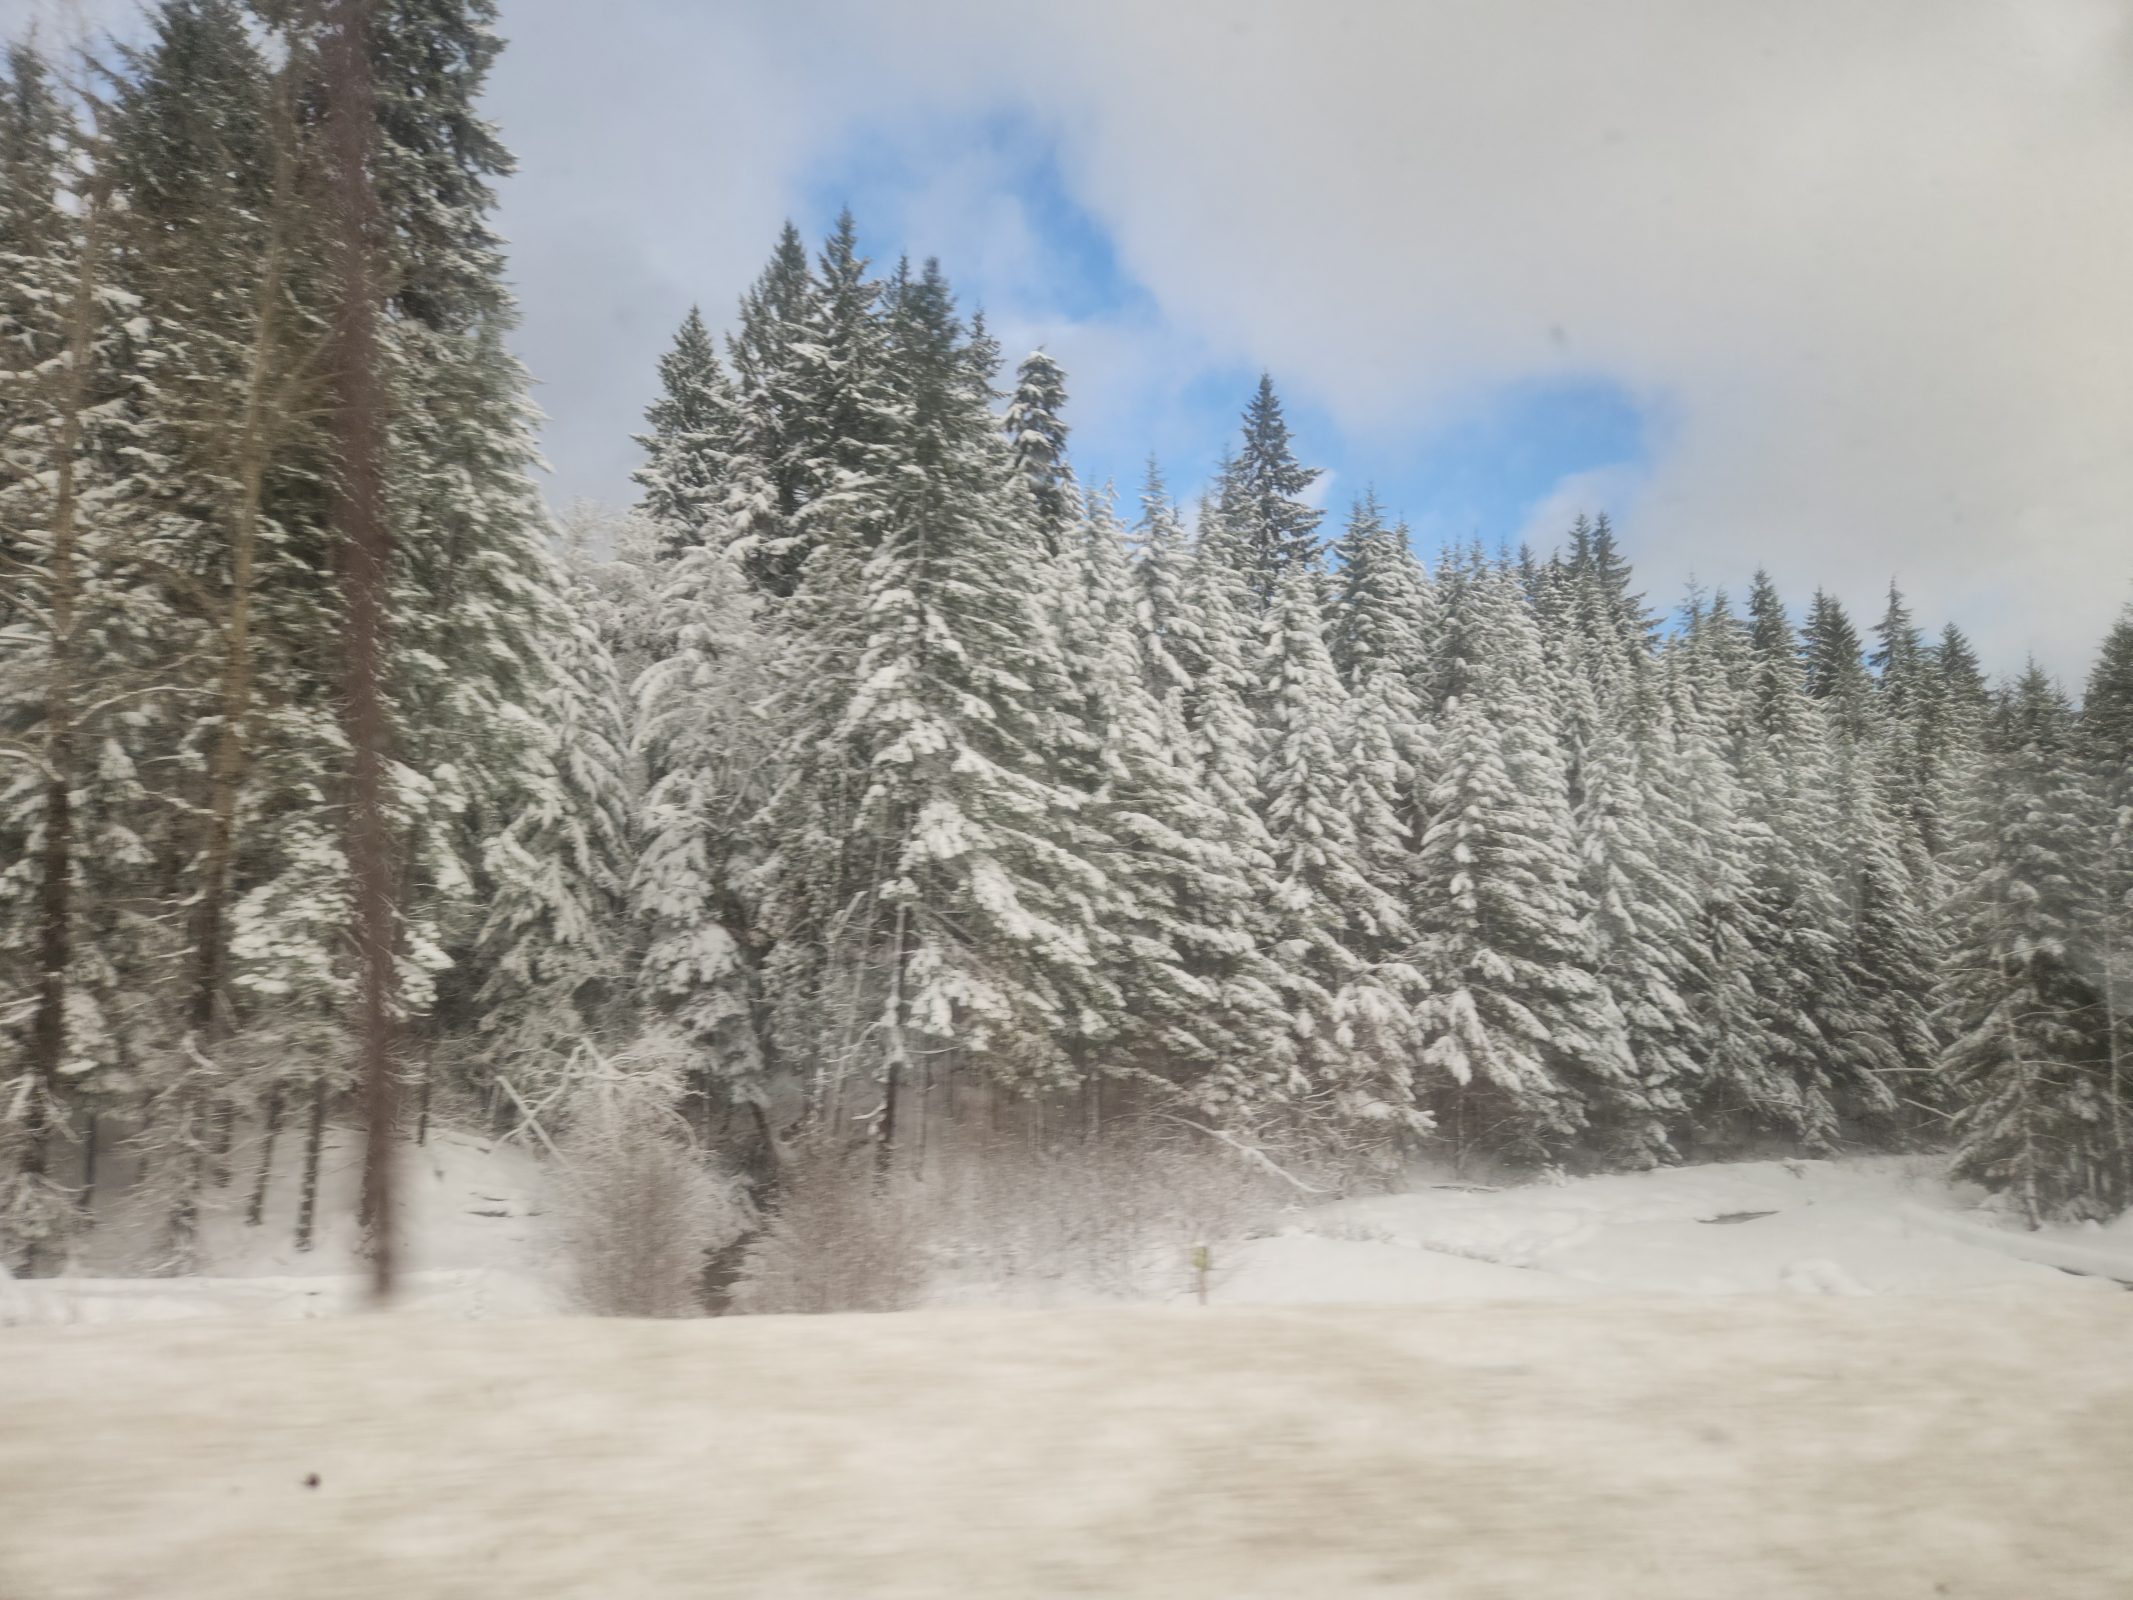
The shuttle makes a rest stop in Cle Elum. You can see in my photo below that the snow was deep enough to require plowing the roads. Ted and I had brought a sack lunch to eat on the shuttle drive. At the rest stop, Ted returned to the shuttle with a surprise dessert: A Milky Way Midnight candy bar for each of us. I don’t remember when I last had a candy bar, but Ted knows that Milky Way Midnight is my favorite. It was delicious!
Note: The same candy bar was called “Forever Yours” when I was a child, and it was my favorite then, too. Mars stopped making “Forever Yours” in 1979 and didn’t bring out the “Milky Way Midnight” until 1989. I missed it for every one of those 10 years!
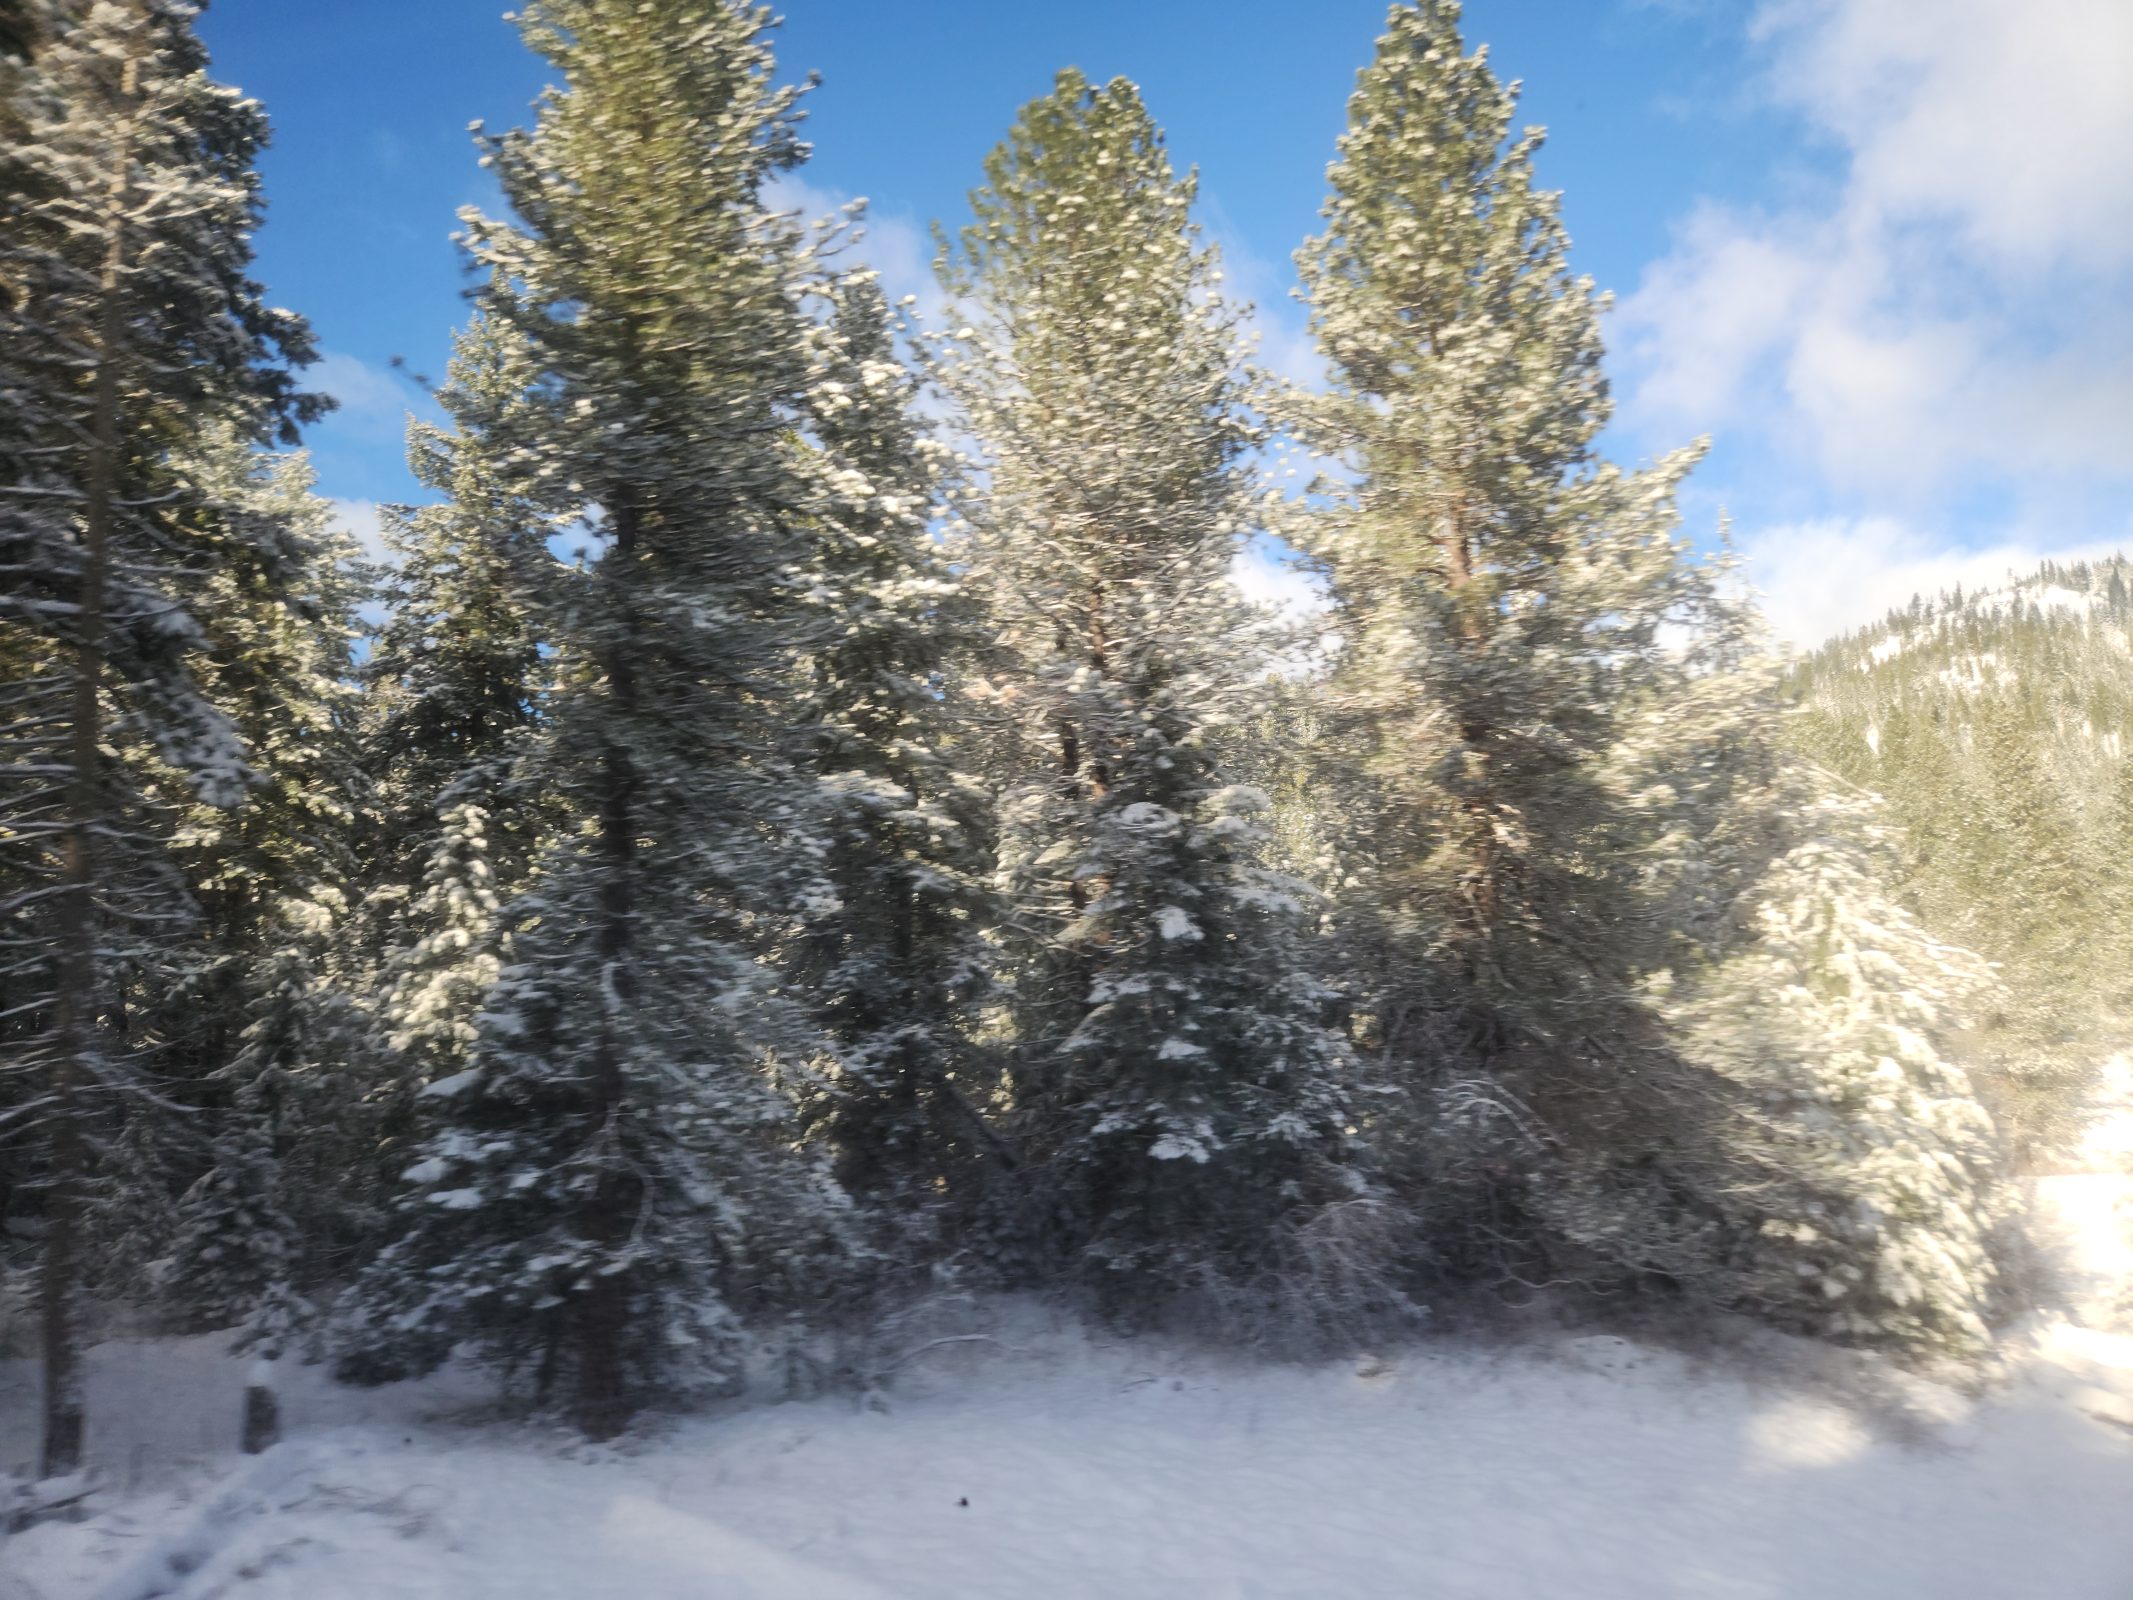
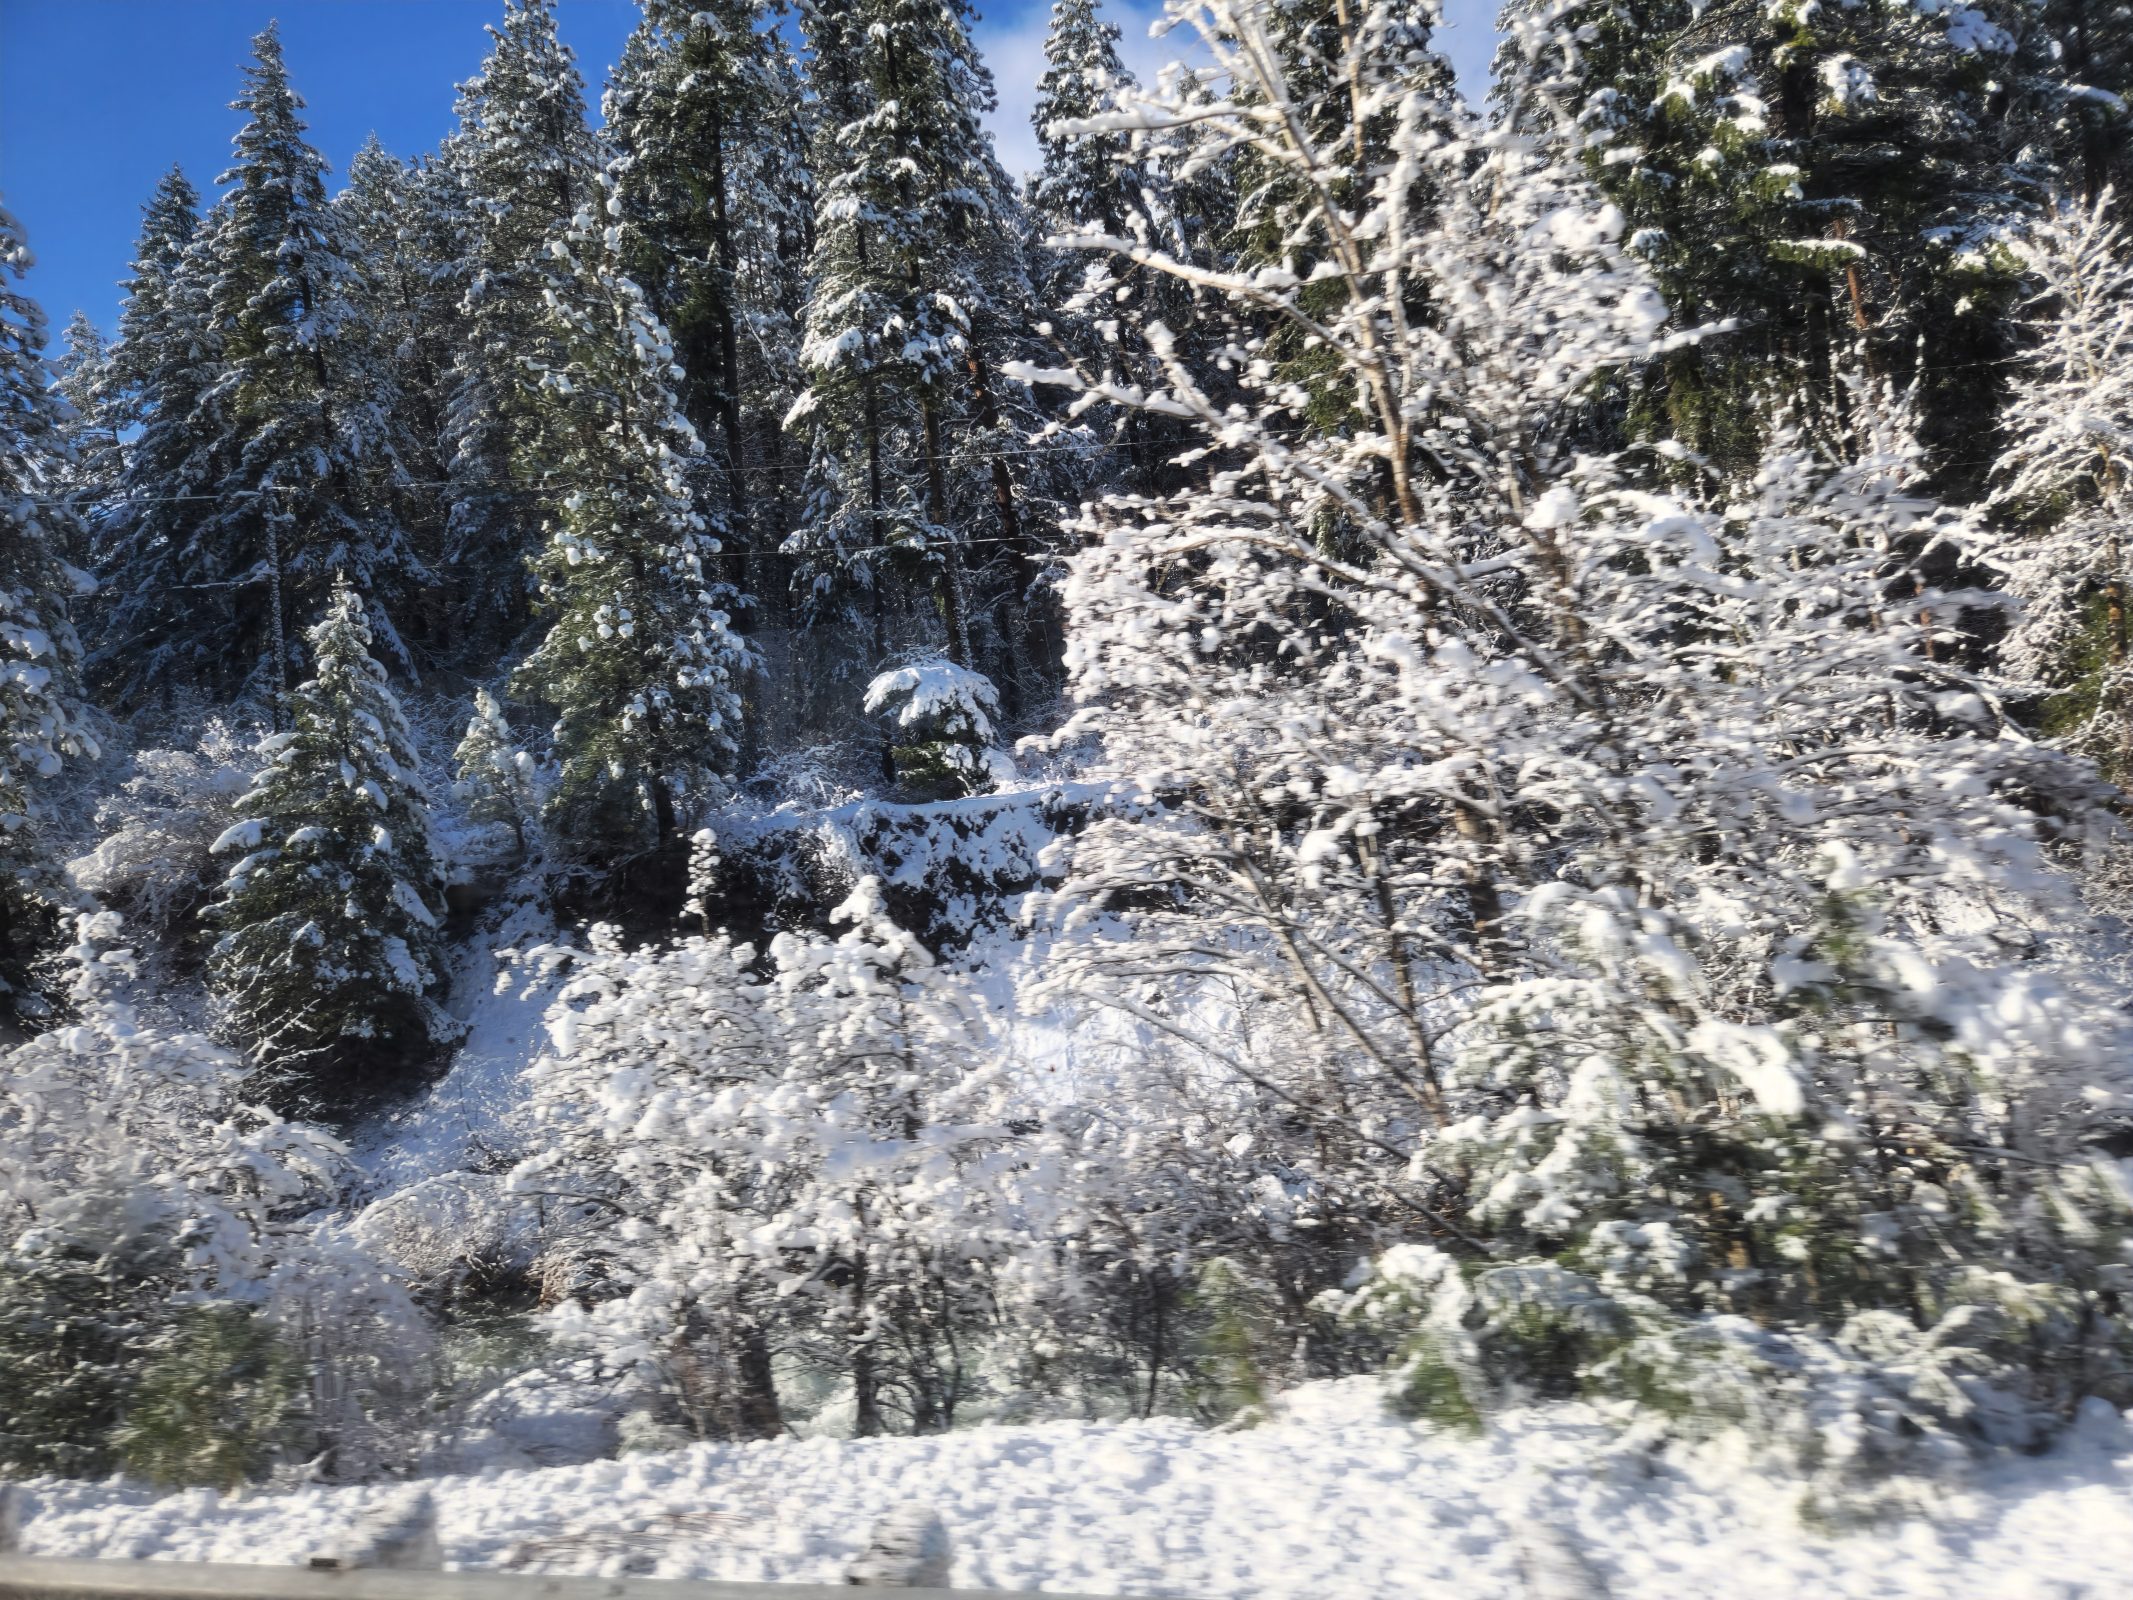
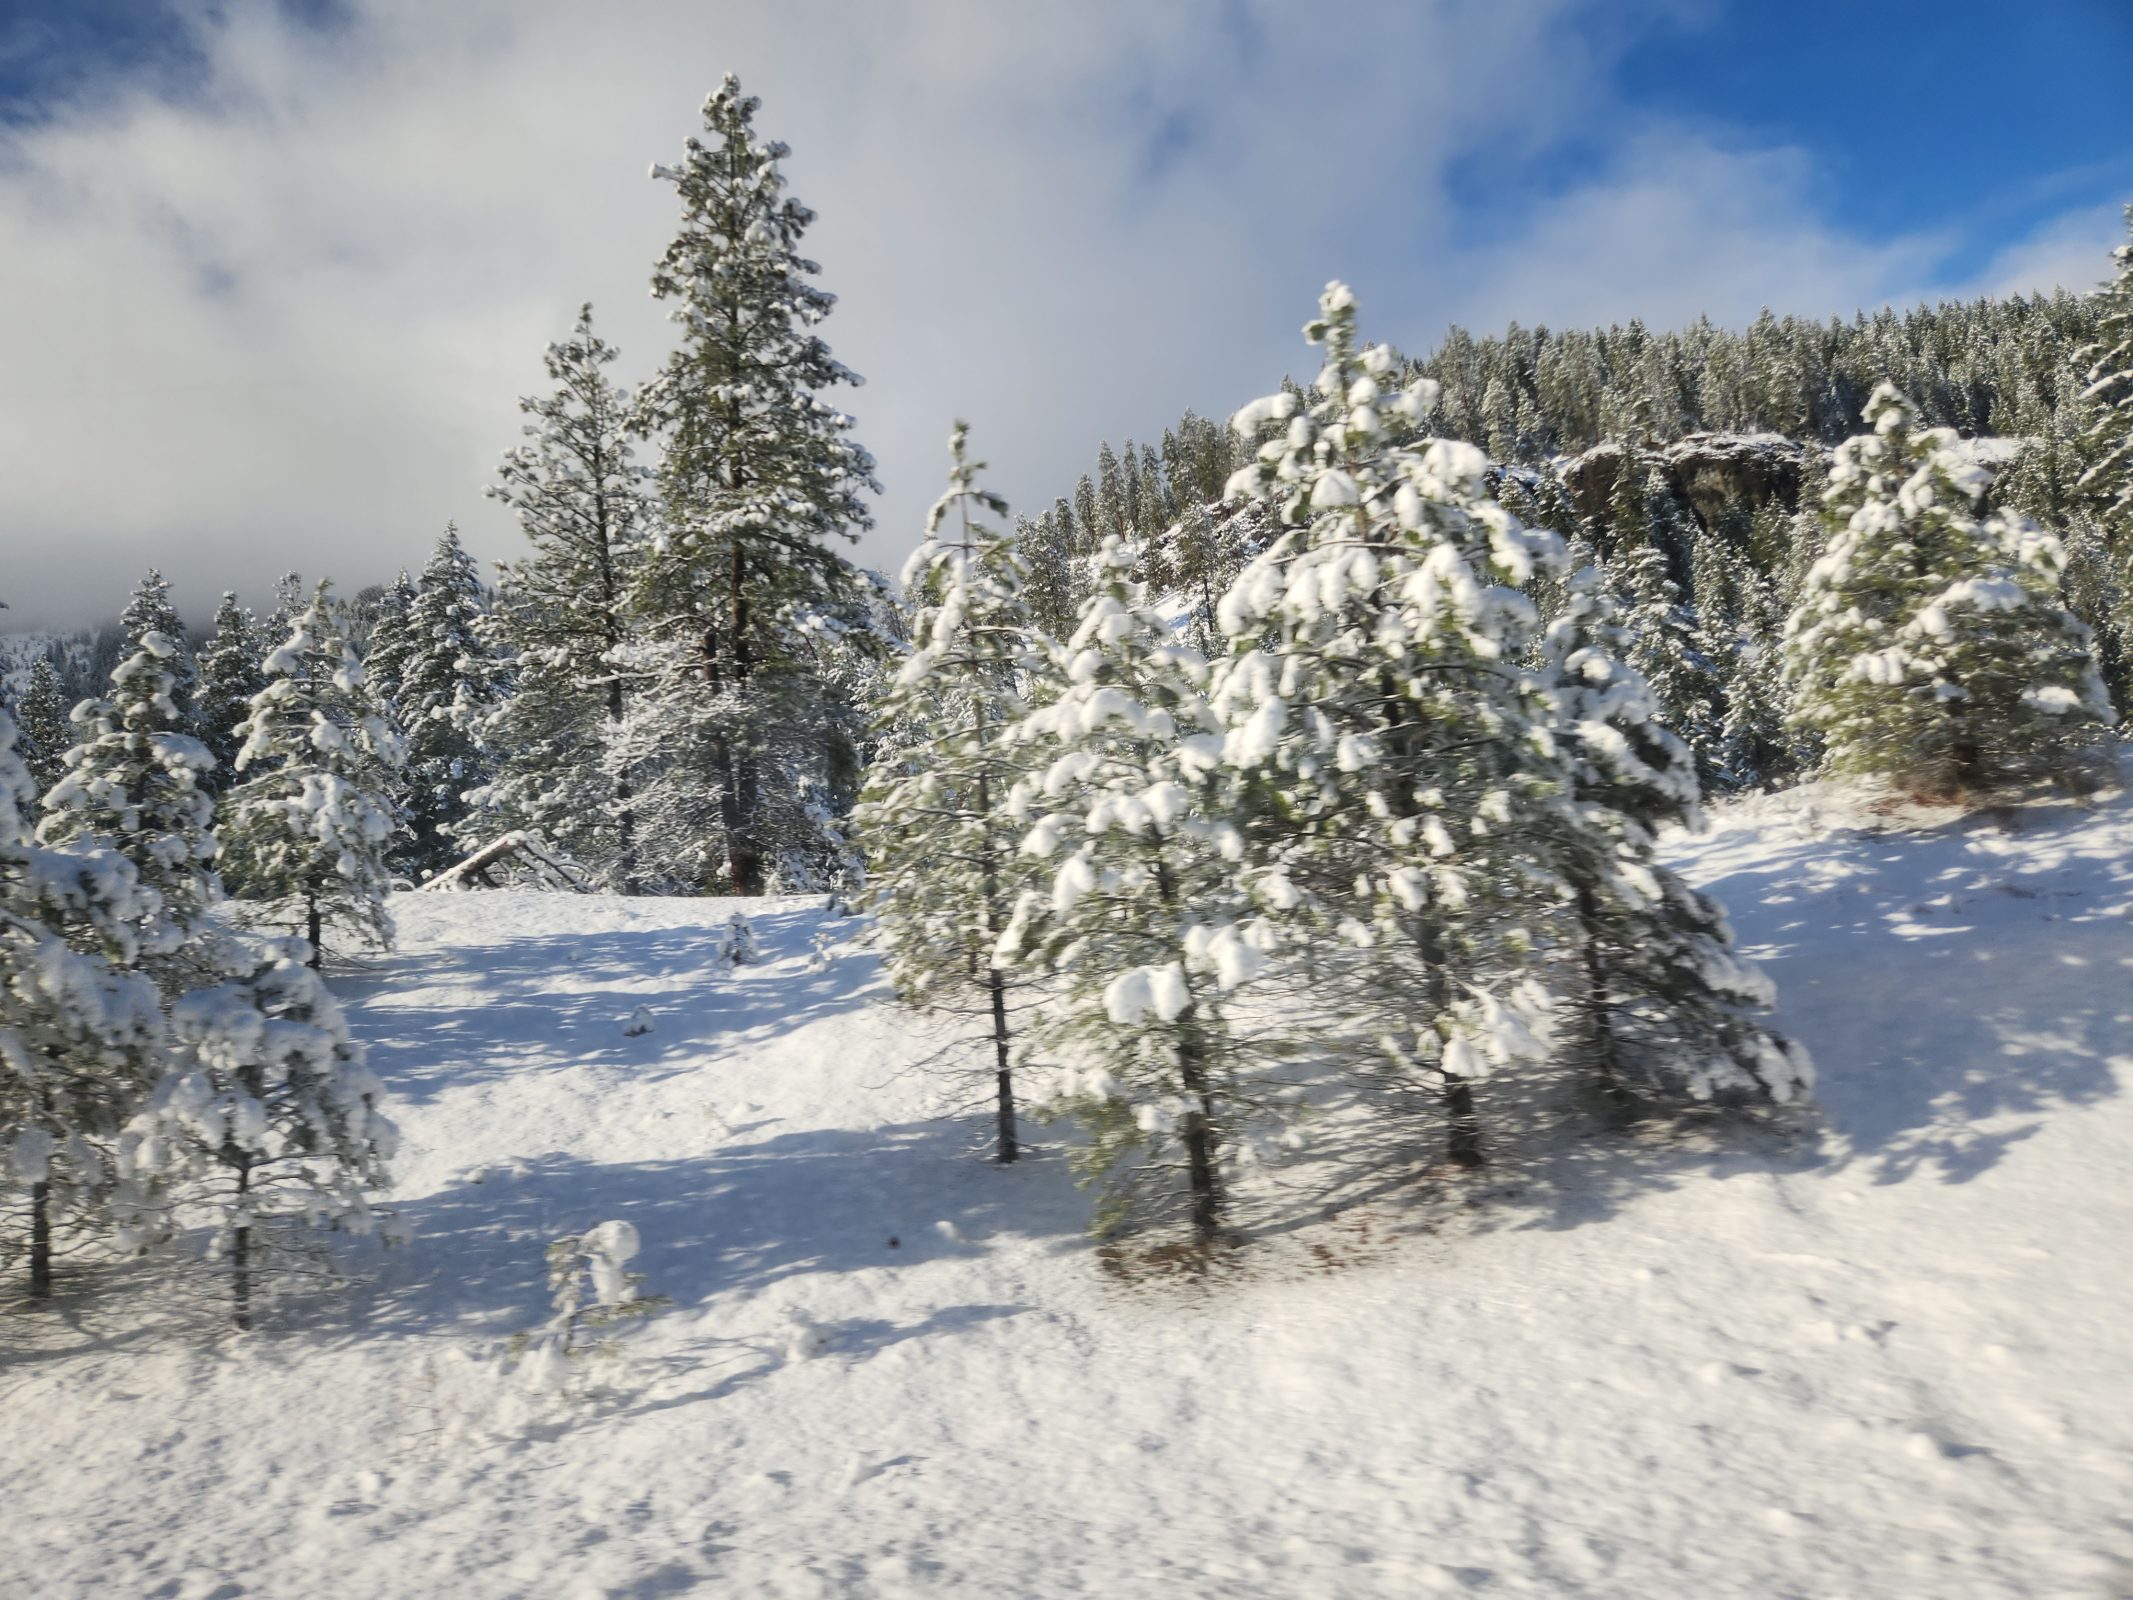
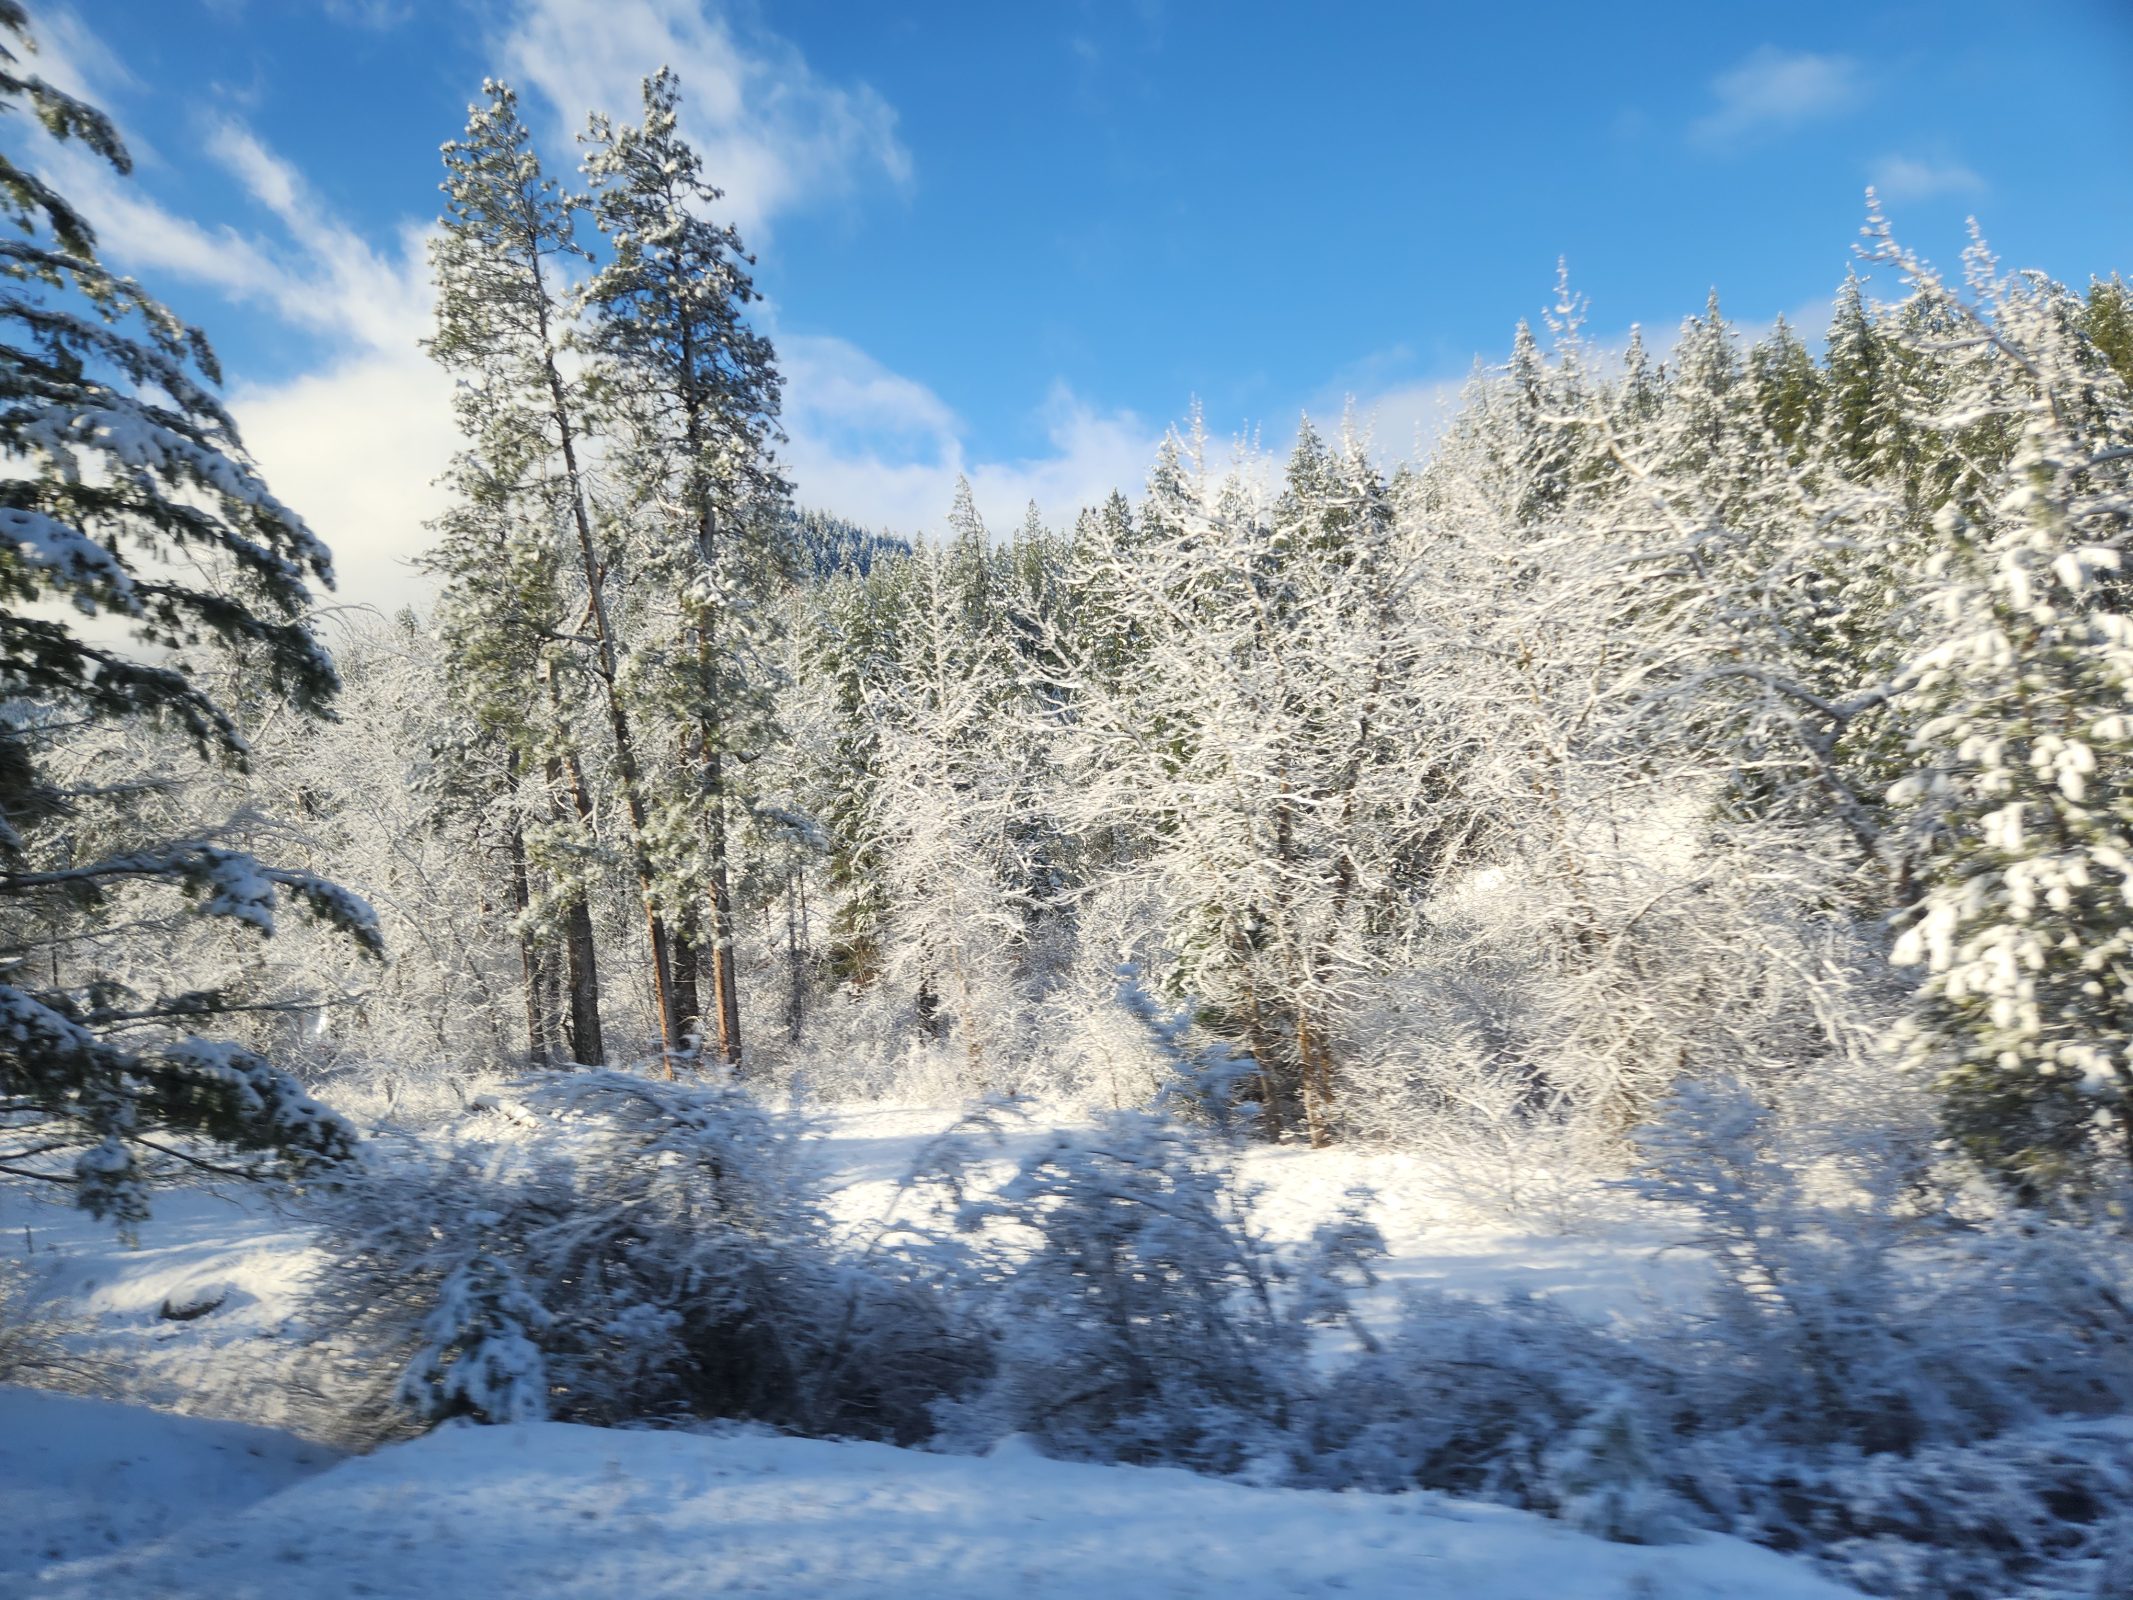
After the rest stop, the beautiful shuttle ride continued.
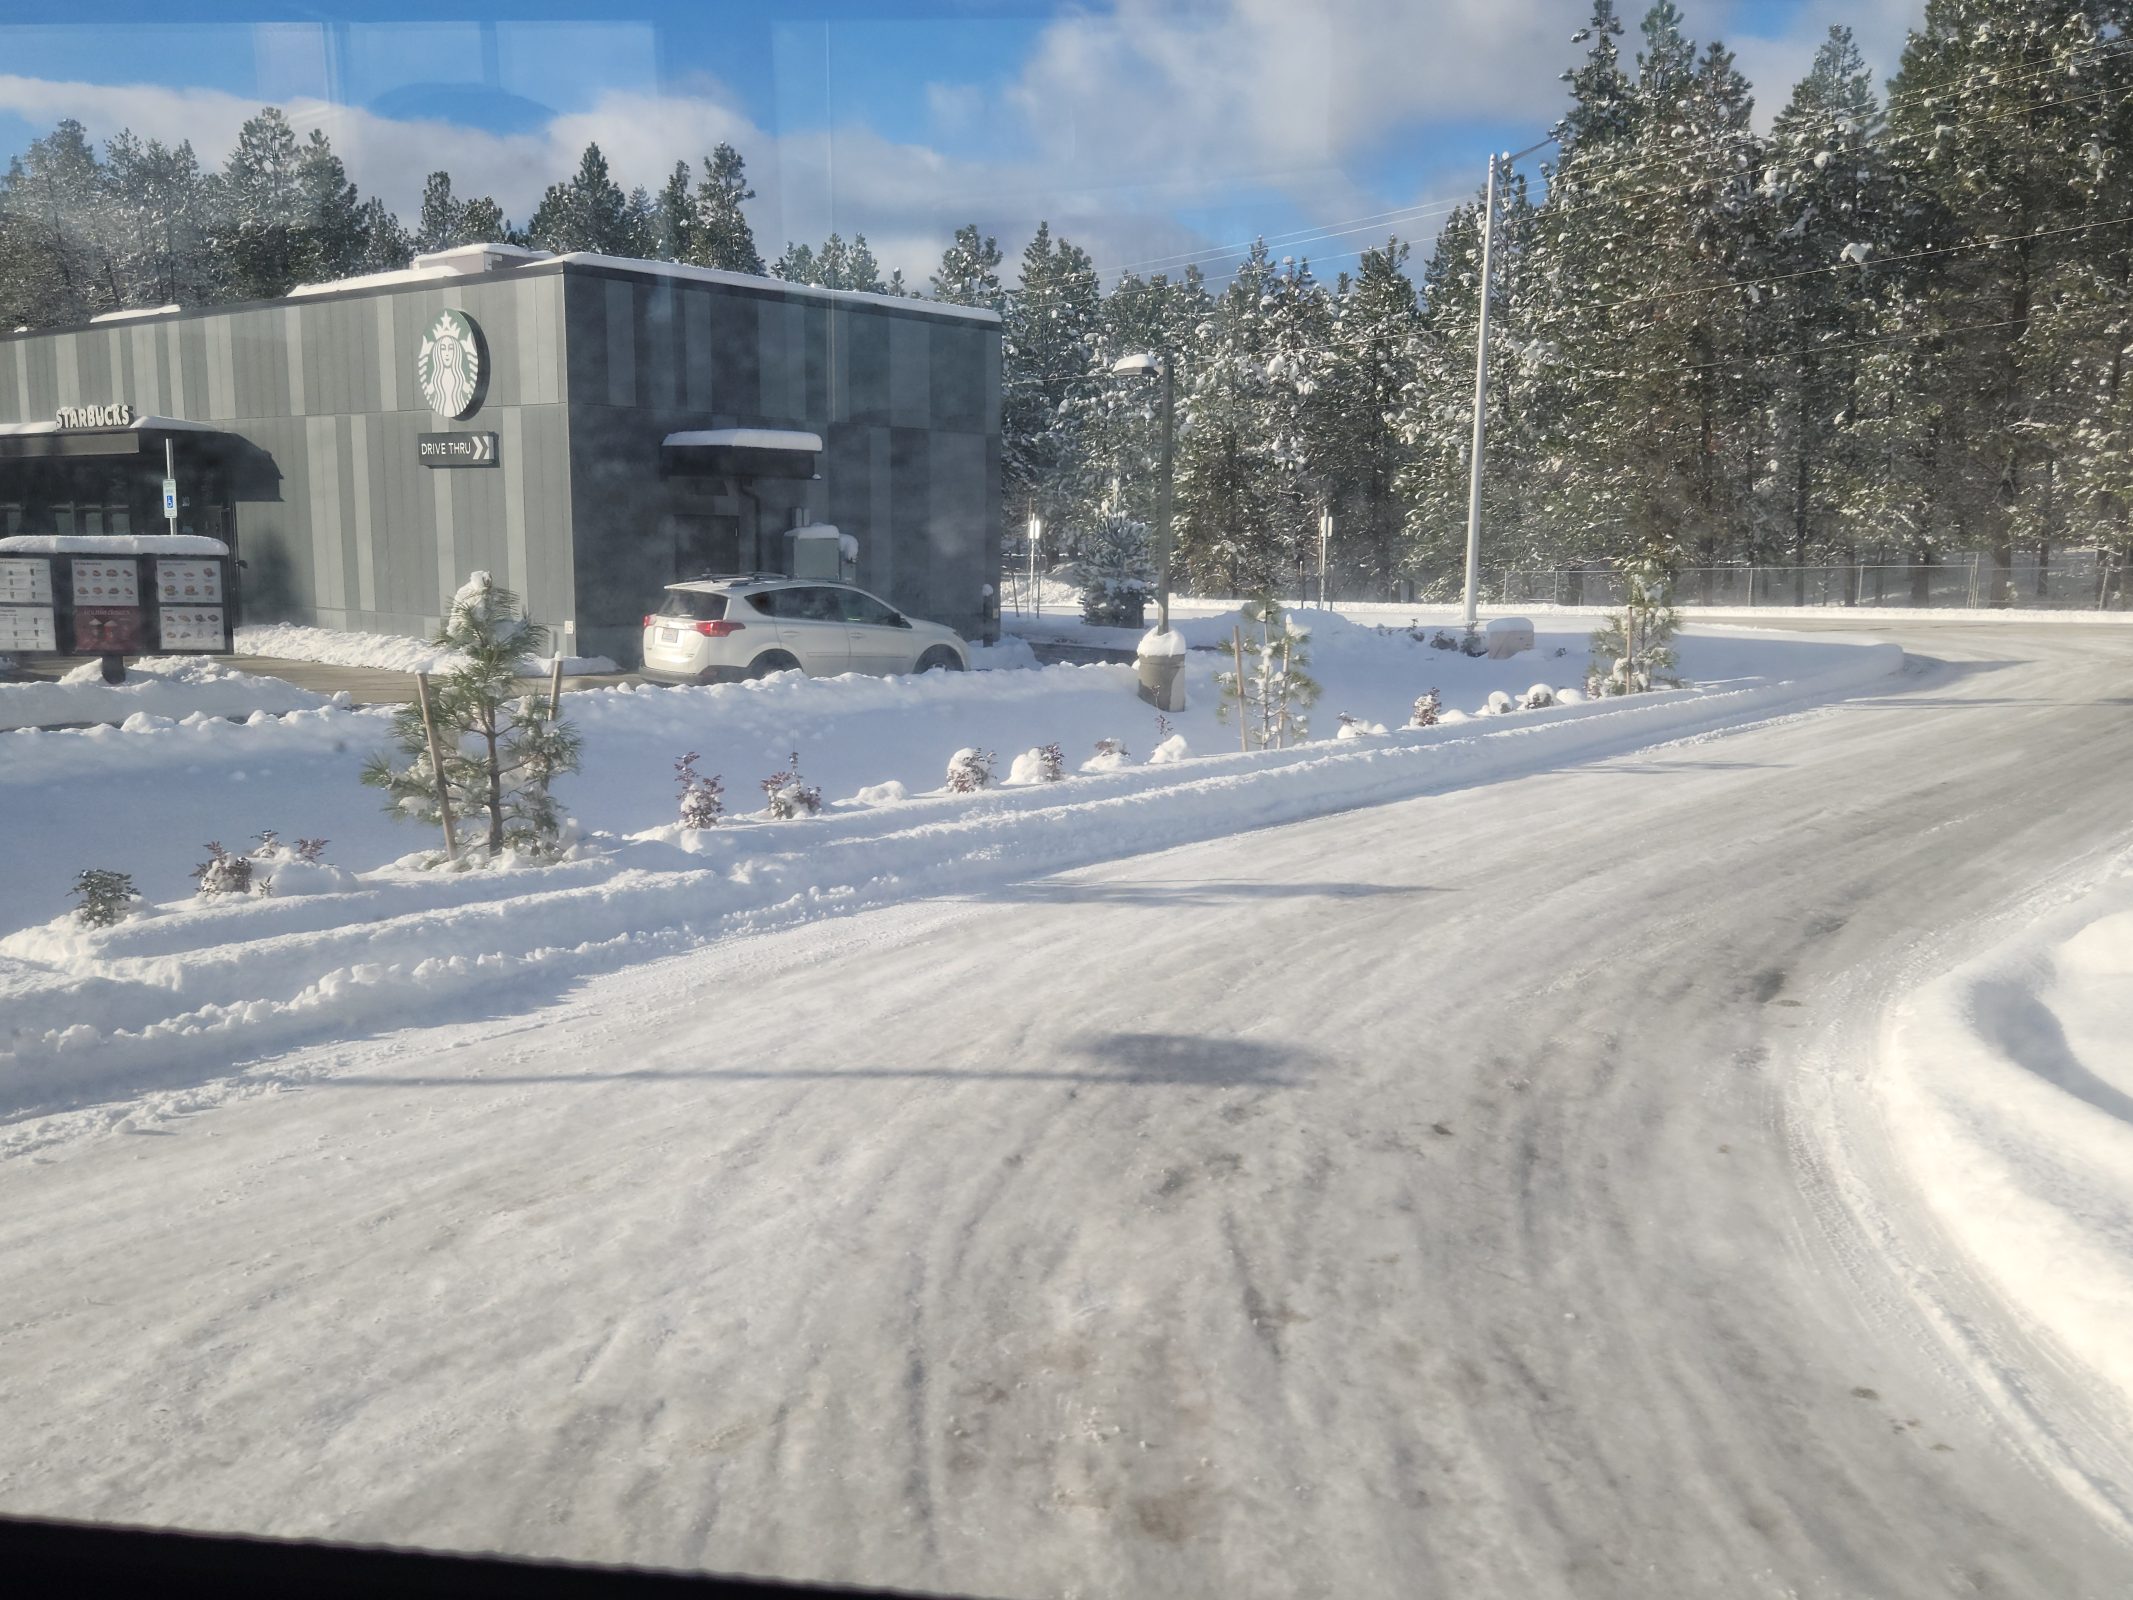
As the shuttle descended to Seattle at sea level, the snow decreased, then disappeared to be replaced by a gloomy, cloudy city. After another layover at Sea-Tac, we had a non-stop flight home and parked in our garage around 1:00 a.m. Another long travel day, but a wonderful holiday spent with the Wenatchee branch of our family.
Naturally, we’ve seen Thom, Katie, Sefton, and Hadley over the years, but we usually visit back and forth during nice weather so that we can enjoy outdoor activities. Their family spent Christmas 2022 at our house, but we haven’t spent Christmas at Thom’s house since 2009–before he was married and had Sefton and Hadley! Ted and I decided to spend Christmas 2025 in Wenatchee.
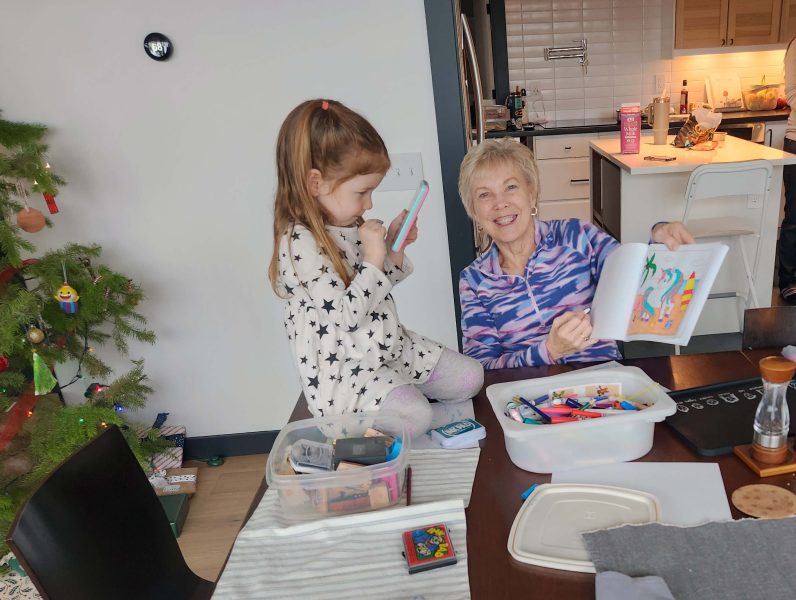
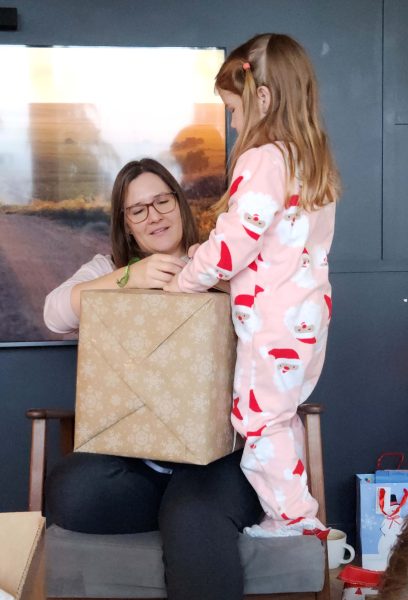
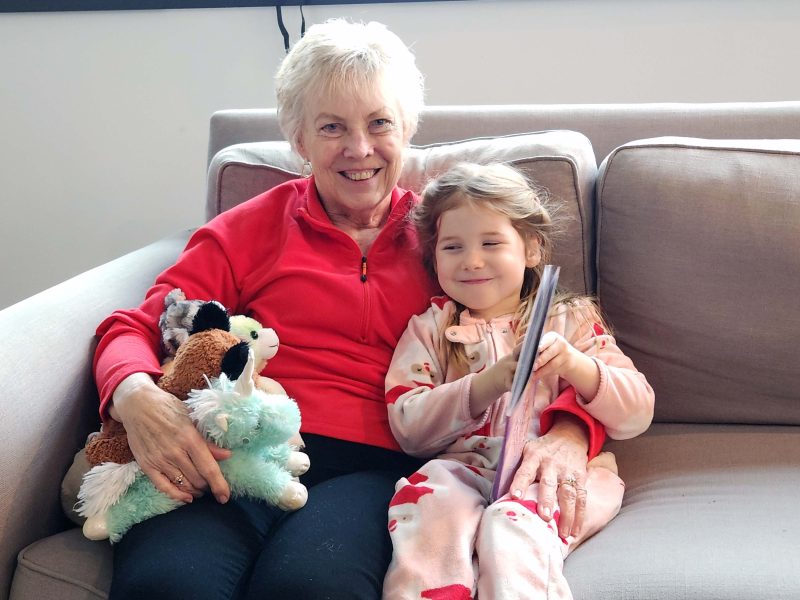
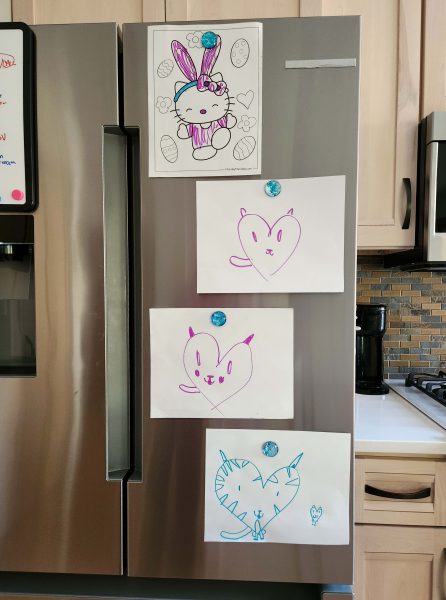
Hadley is such a sweetheart! She has all the exuberance of a four-year-old and wanted to share all of her age-appropriate activities with Grandma and Grandpa. We attended parties for her stuffies in her room, and here’s a picture of me coloring unicorns (her favorites) with her.
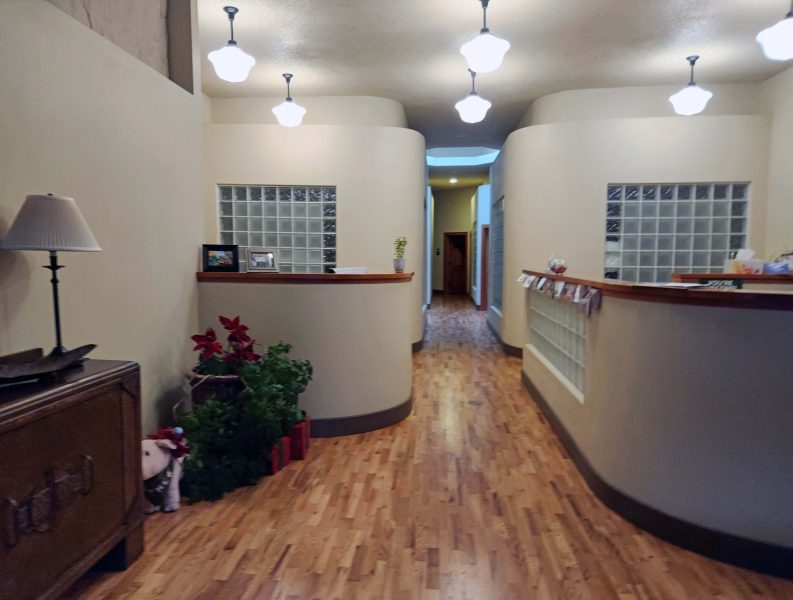
The weather was cold (duh! winter!), but sunny and calm, so on Christmas Eve afternoon, we took a walk through downtown Wenatchee. We admired the holiday decorations and went into a few stores to browse. Thom recently accepted a different job, so he gave us a tour of his “new” downtown office suite. Thom didn’t have his office key with him, so I won’t tell you how we got inside, except to say, “Thanks, Katie–you had the skills we needed!”
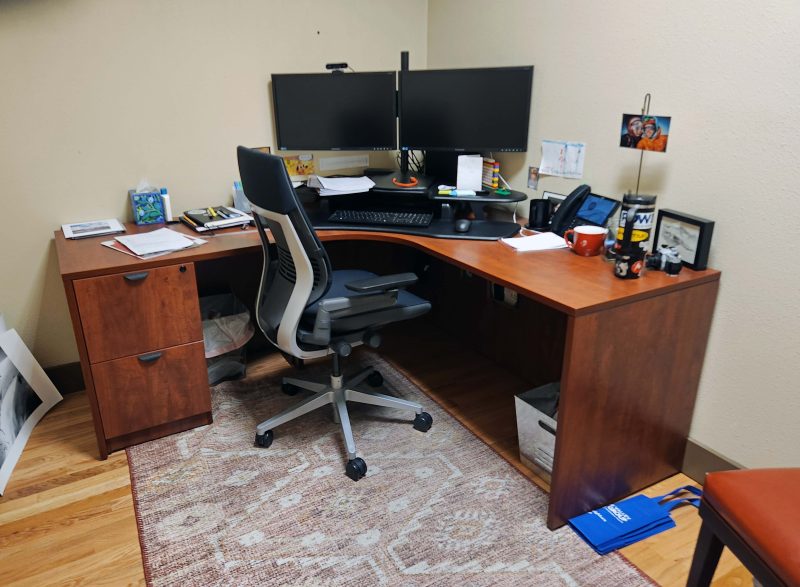
Here’s Thom’s personal office and workstation, located on the right side of the hallway in the above photo.
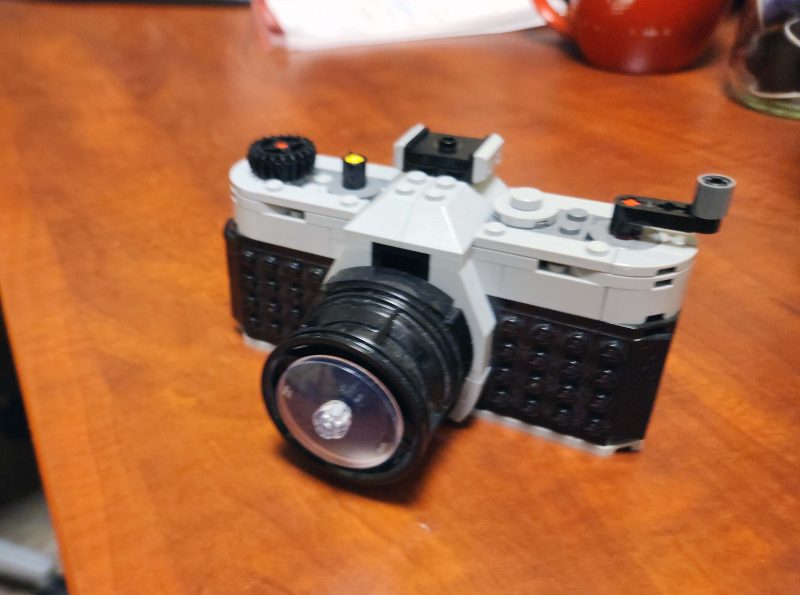
Trust Thom to have a camera nearby and trust him to have an–even cooler–Lego camera on his desk.
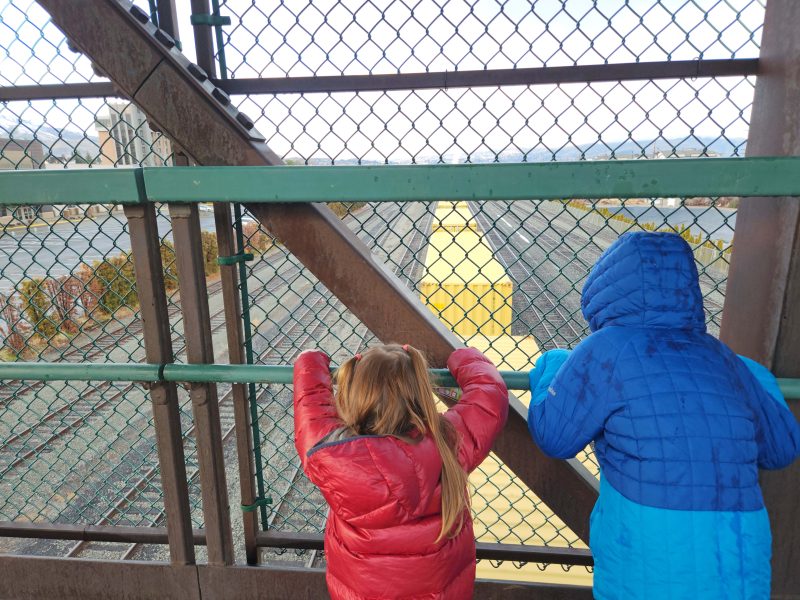
We decided to walk from downtown to a nearby city park and had to cross a bridge over the train tracks. A train was approaching, so Sefton and Hadley were thrilled to have the train (yellow boxcars) pass beneath them.
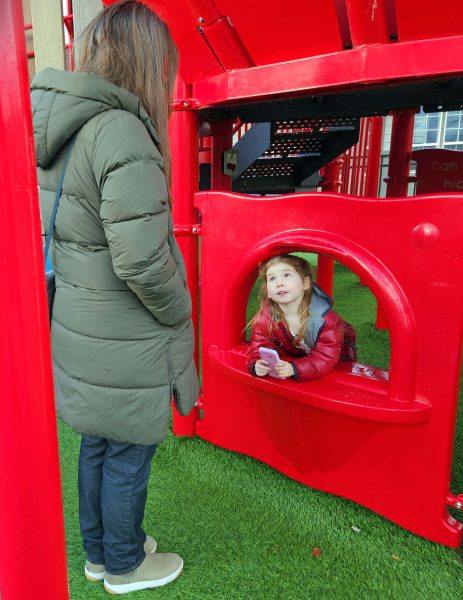
Here’s Hadley playing at the park.
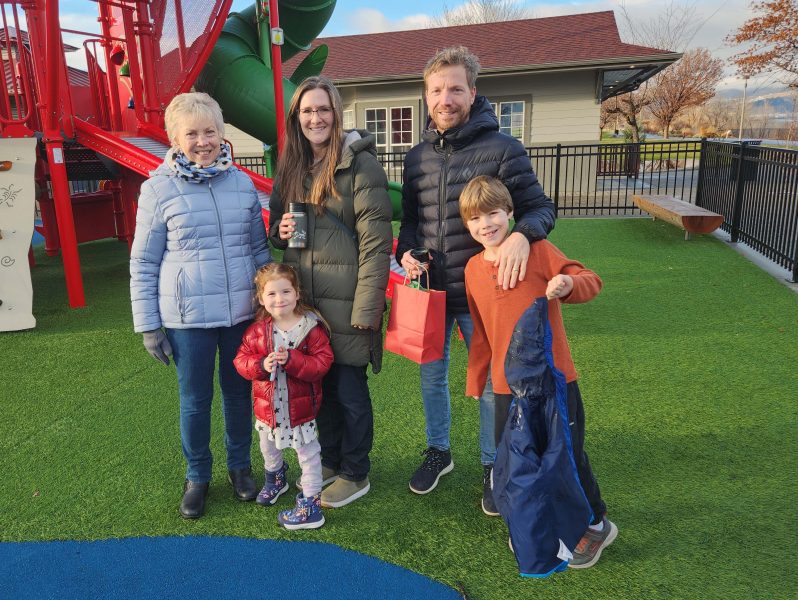
Ted took a group photo of us. Note that I’m all bundled up in my 800-fill down jacket, Katie is wearing her 900-fill down jacket, and Thom is wearing his down jacket zipped to the neck. In the same weather, Hadley’s jacket is unzipped, and Sefton was too warm to even wear his! (Ted had his down-filled jacket on too. Zipped.) What keeps kids so warm when we adults need to bundle up??
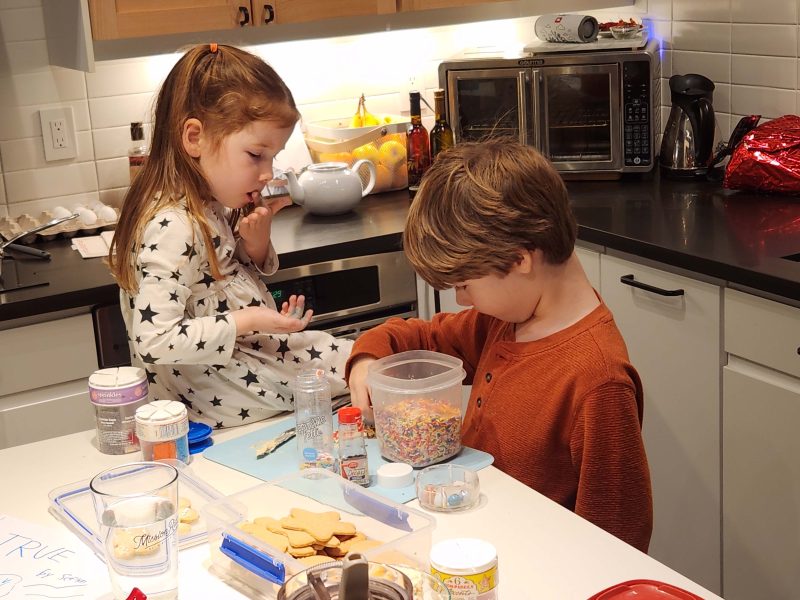
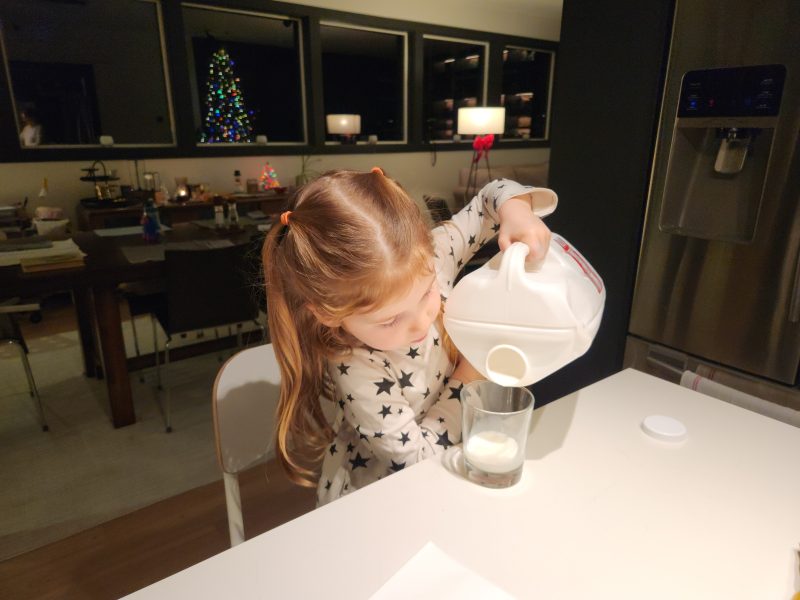
When we got back home, it was snack time for the kids.
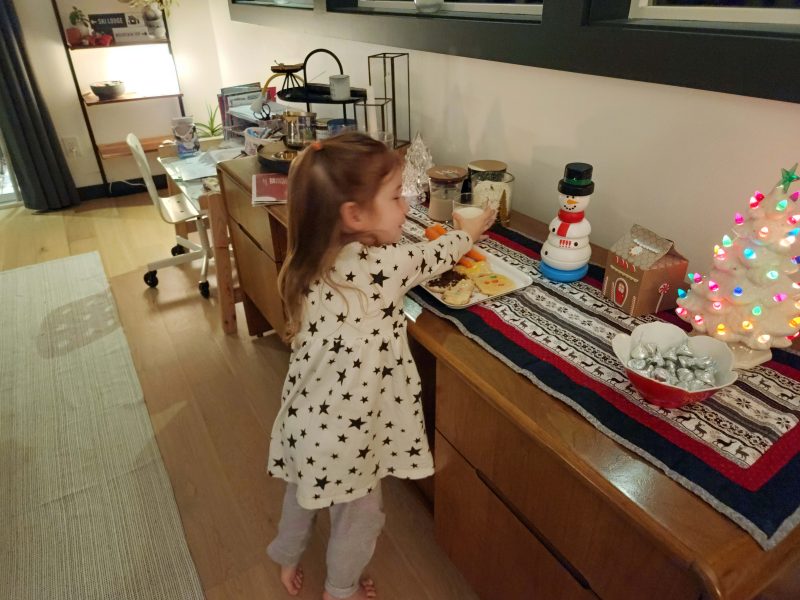
It was Christmas Eve, so before bedtime, Hadley put out Santa’s food–milk and cookies for Santa and carrots for his reindeer.
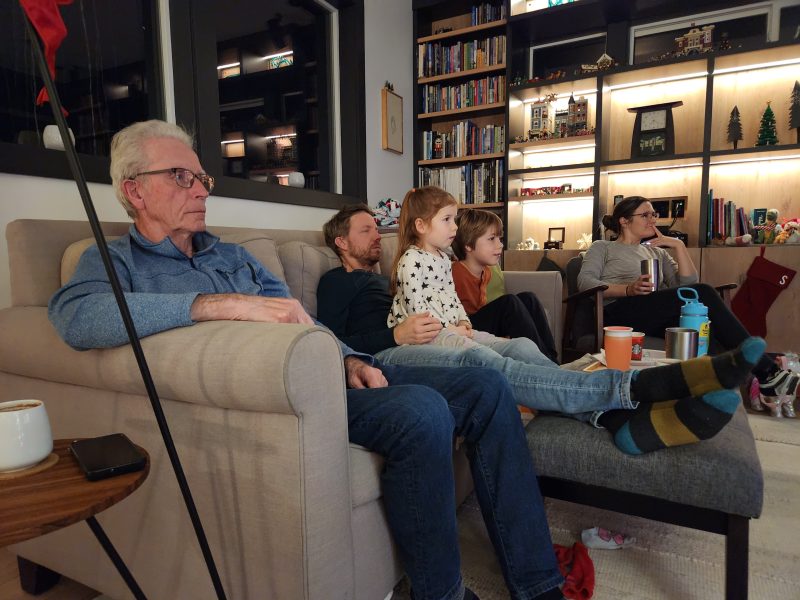
Both kids stayed up later than usual and we watched Elf together.
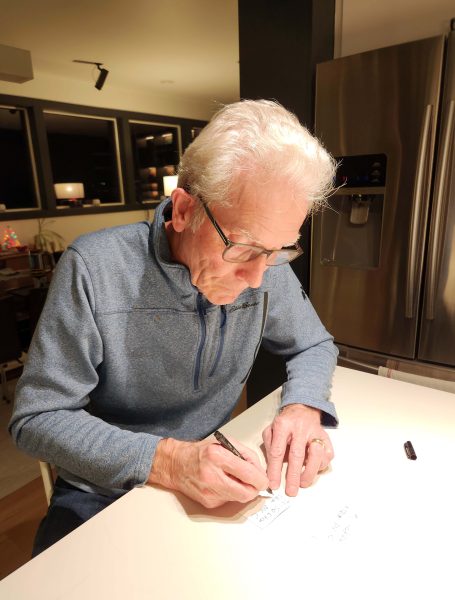
After the kids went to bed, we needed someone whose handwriting they wouldn’t recognize, so Grandpa filled in for Santa.
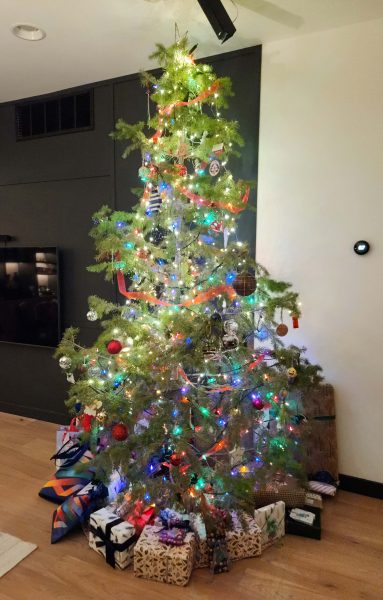
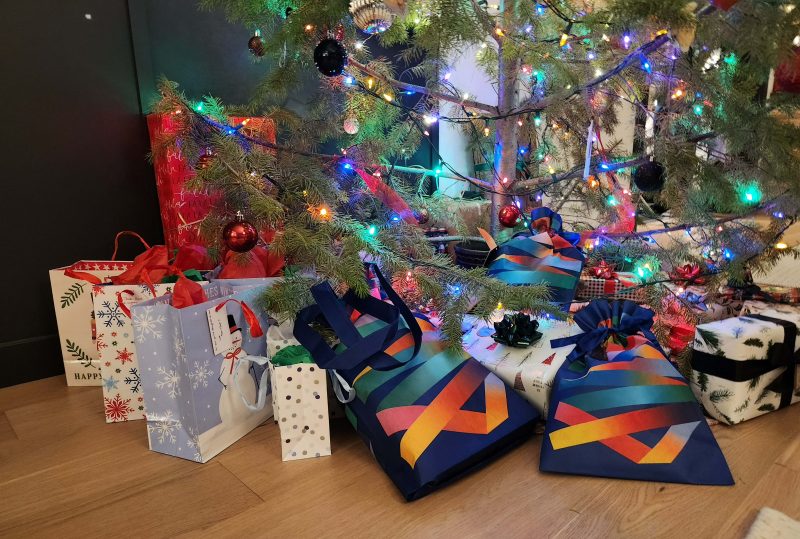
The presents are under the tree, . . .
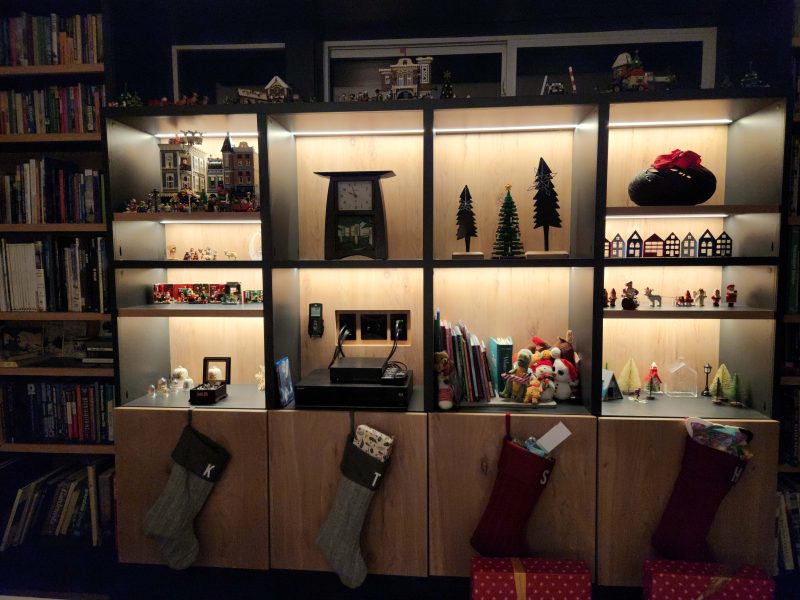
. . . and the stockings are hung on the bookcase with care.
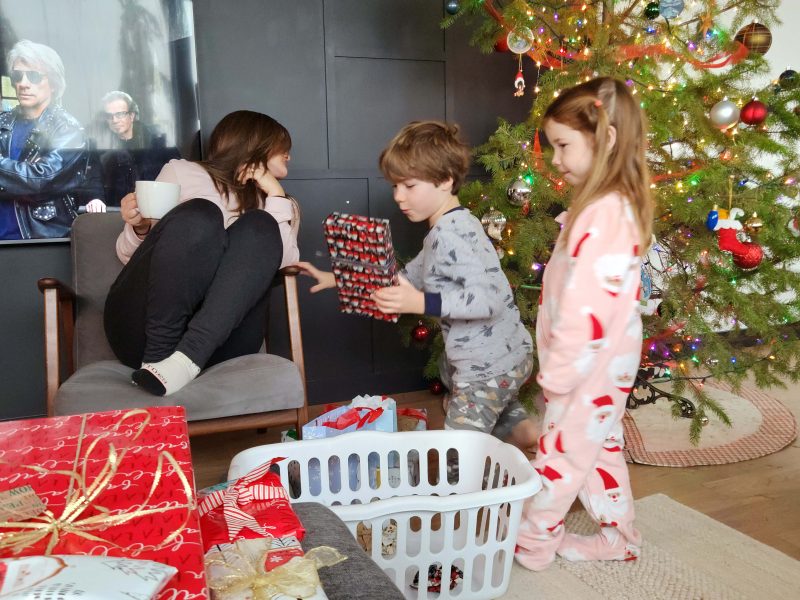
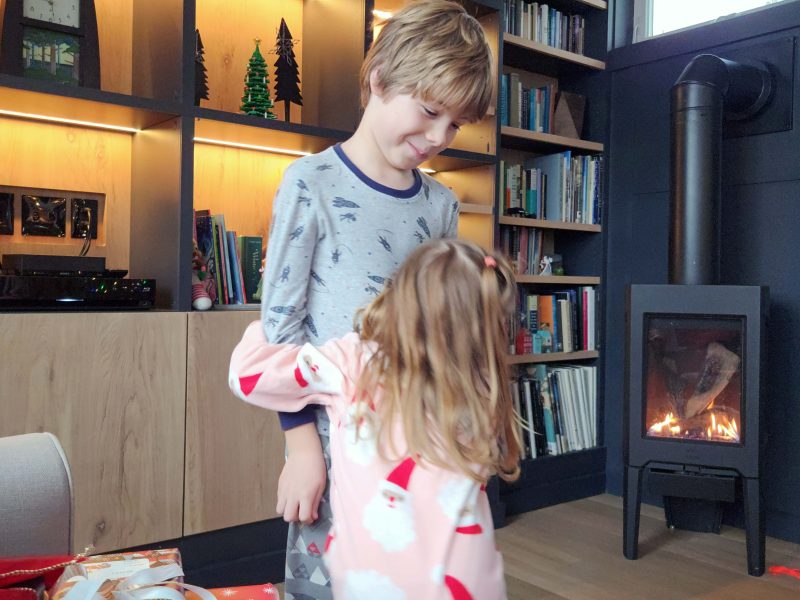
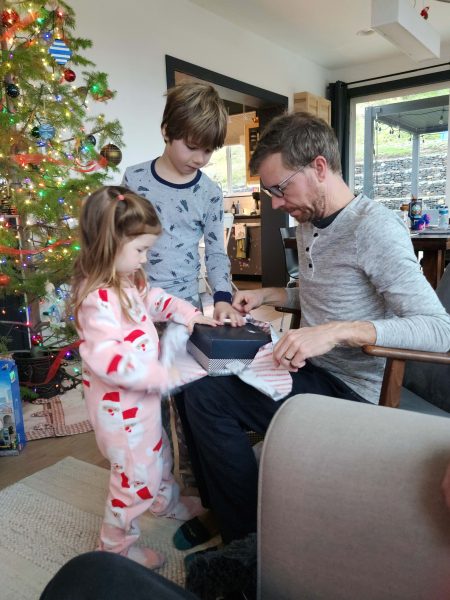
On Christmas morning, Ted and I had a wonderful experience: Christmas with young children. What fun! Sefton is 8, and Hadley is 4, so Sefton read the gift tags and Hadley helped him distribute the gifts.
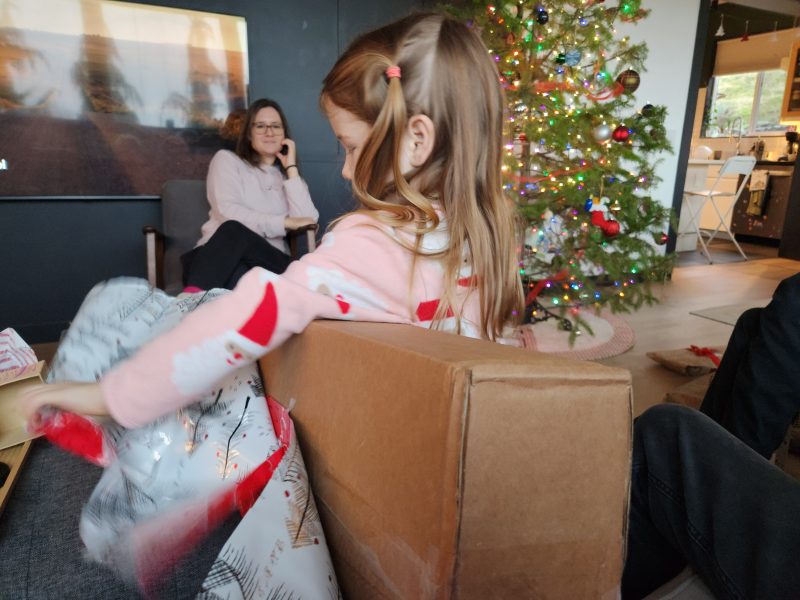
Christmas love and joy need to be shared.
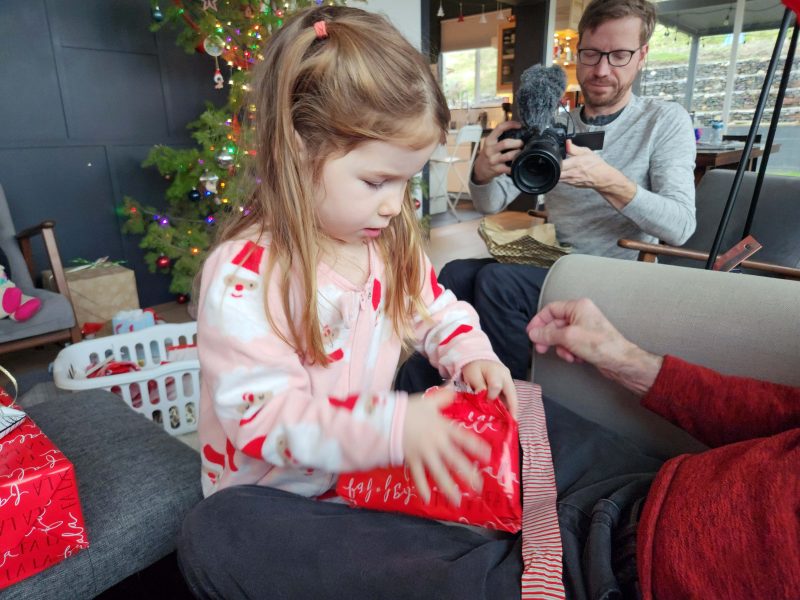
We adults were fortunate to have Hadley present, because she helped all of us open every one of our gifts. The excitement of young children at Christmas is such fun!
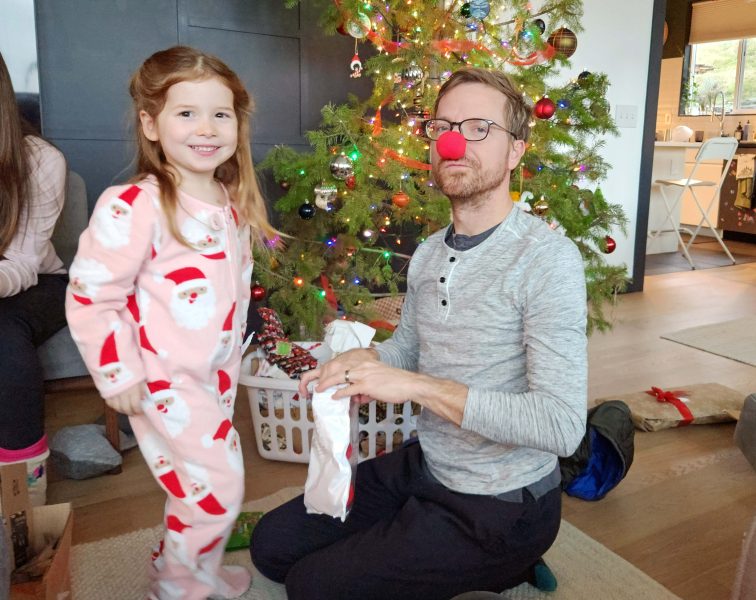
Hadley wanted Dad to try on her red nose.
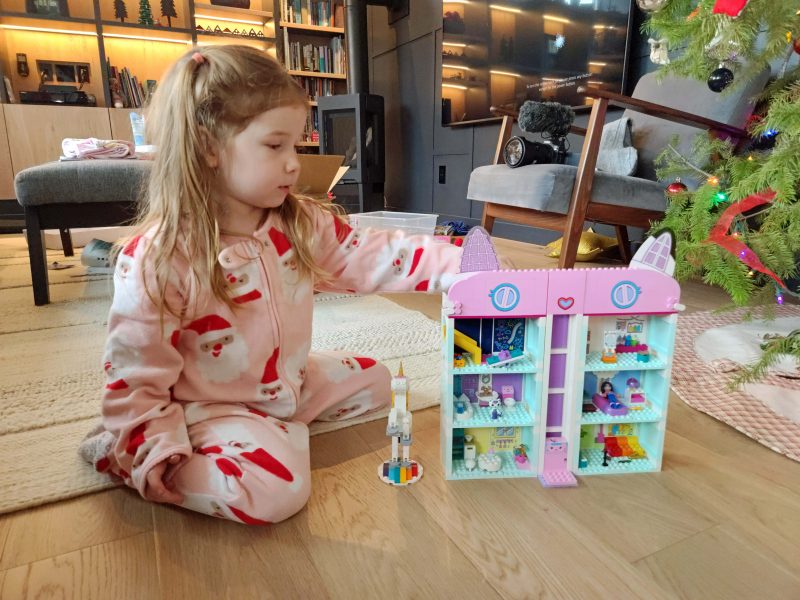
Here’s Hadley with her favorite gift–brought by Santa. The white Lego figure on the left side of the house is a unicorn, her favorite figure.
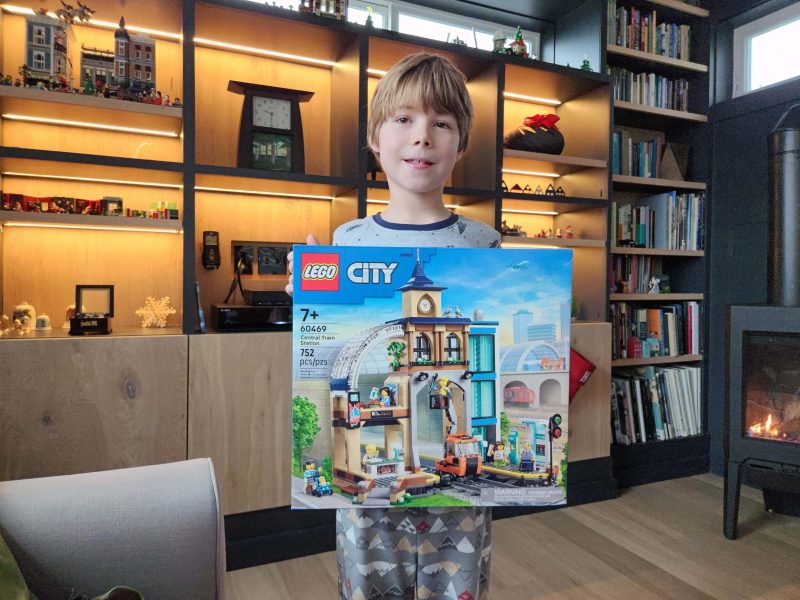
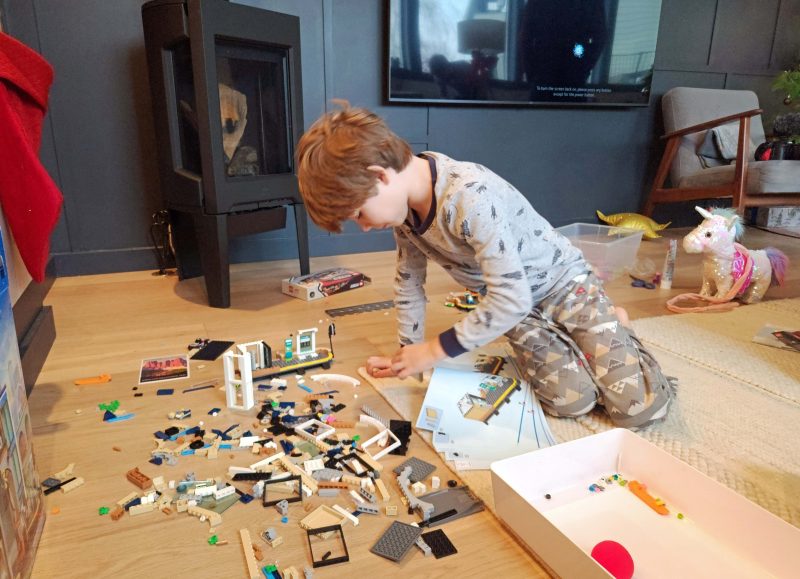
Sefton repeatedly reminded us that he asked Santa for a Lego City Central Train Station Building Kit. (He always included the full name of the set when he mentioned it, much like Ralphie [A Christmas Story] when he said he wanted an “official Red Ryder, carbine action, 200-shot, range model air rifle, with a compass in the stock and this thing that tells time.”) When Sefton discovered that Santa brought that set to him, he showed unbounded excitement. I took this picture after he finished repeating how awesome it was and settled down a little bit. This might be the only moment he stood still until he finished assembling it.
As soon as he opened the Lego set, Sefton announced that he was going to work on it all day until he finished it. With time out to open his other gifts and to eat meals, that’s exactly what he did.
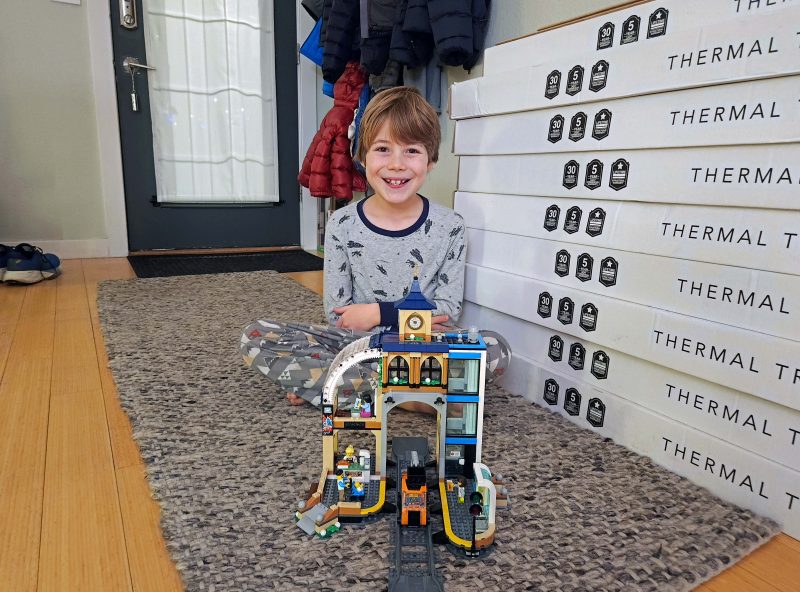
He finished building the train station before bedtime. It was exactly what he wanted for Christmas! Look at that smile!
This is exactly what I wanted for Christmas–time with our two youngest grandchildren.
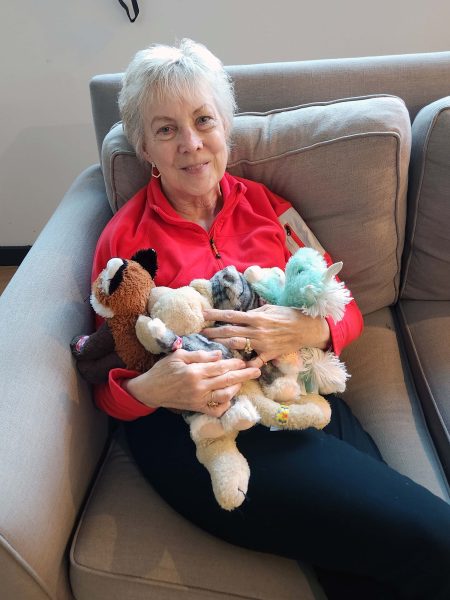
When Hadley had to get up for some reason, she trusted me to hold all of her stuffies and to keep them safe until she returned.
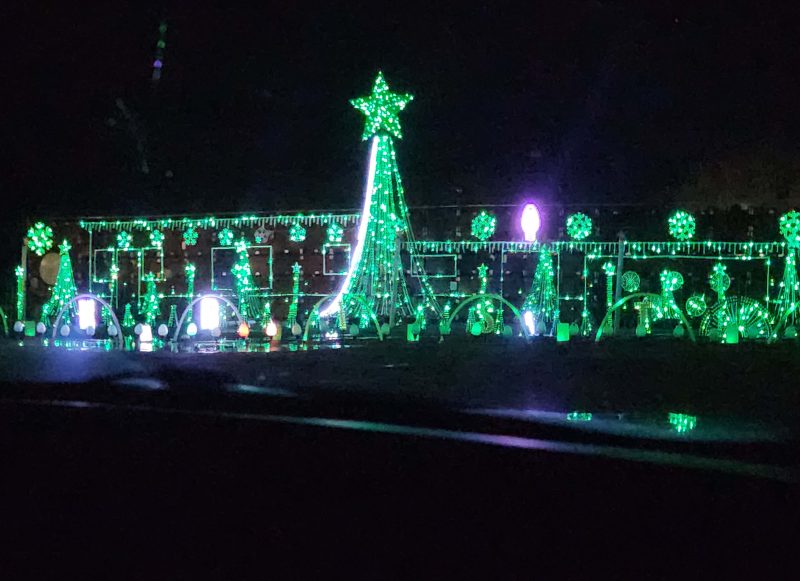
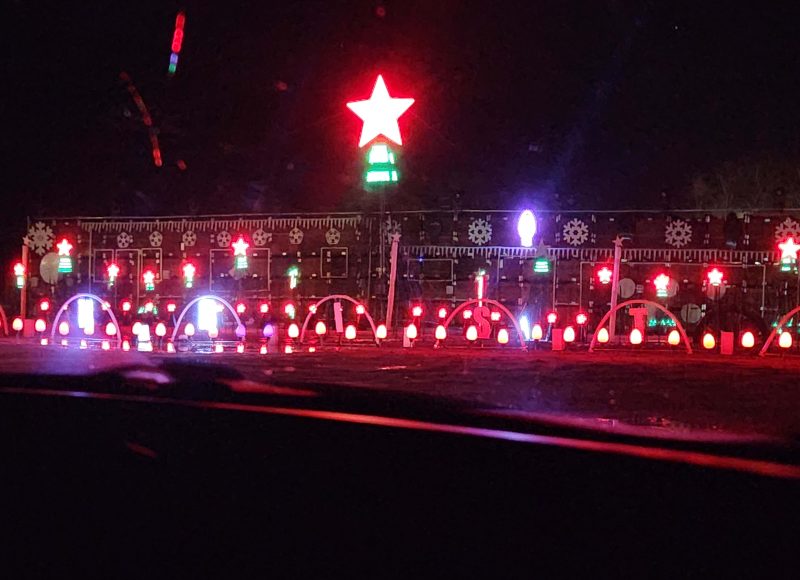
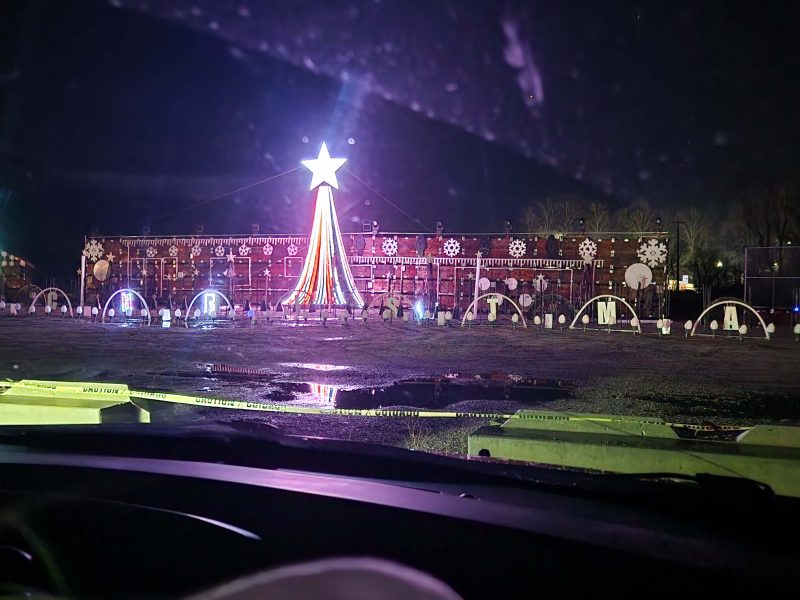
The following day–our last day in Wenatchee–Thom and Katie took us to a local Christmas light show. We parked in the front row and had a great view. The show lasted about 45 minutes before it recycled and started again. It was a lot more fun to watch than my pictures show because all the lights were moving in patterns and changing colors all the time. In addition, there was a soundtrack of holiday music that we could listen to on the car radio. My photos literally capture only a moment in time during the light show.
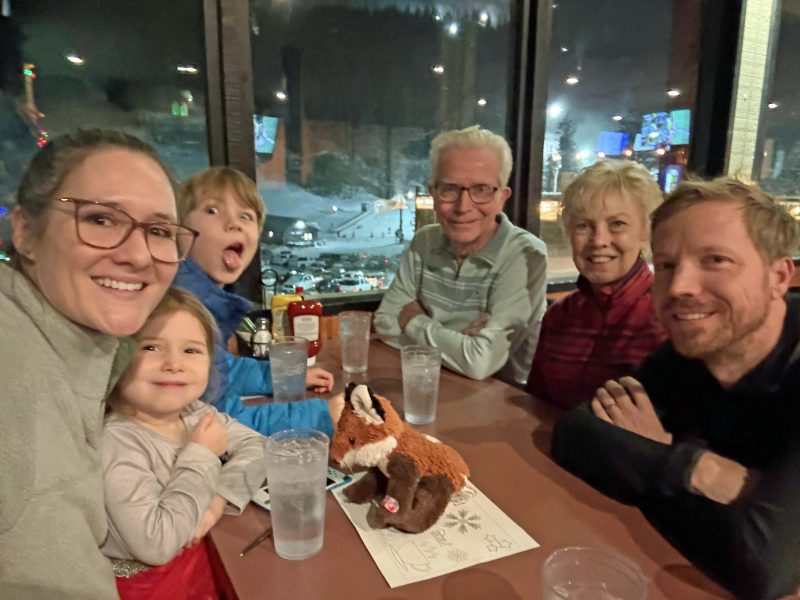
From the light show, we headed to Mission Ridge, where Thom and Katie treated us to dinner at a ski resort. As we climbed the road to the ridge and got above 3,000 feet, it began to snow. At the top (4,500+ feet elevation), it was like a blizzard, but a lot of people were skiing, even though the wind was blowing so hard that some of the ski lifts were closed. The road back to Wenatchee was downhill, curvy, and slick with snow until we reached a lower elevation. Thom used his winter driving skills to bring us safely down.
Katie took a picture of us while we waited for our delicious food to arrive. It looks like Sefton has spent a lot of time with Uncle Cosmo when pictures are being taken. 🙂
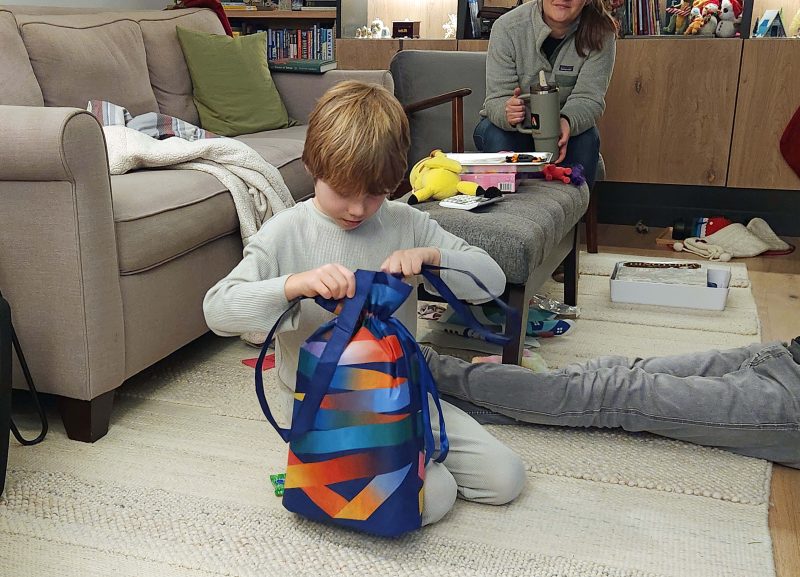
Before he went to bed that evening, Ted and I gave Sefton our gift for his ninth birthday, coming up in early January. We’ve never been with him on his birthday (see above, where I mentioned we usually visit during warmer weather), so it was fun to share even this little bit of his birthday with him.
He giggled while he tried it out, so we think he liked it.
The next day, it was time for us to leave, but Hadley sent gifts with us to enjoy at home. It was wonderful to celebrate Christmas in Wenatchee. We wish we lived closer and could see this family more often, but that doesn’t diminish the joy of our visits with them. Merry Christmas and Happy New Year to all !